Setting up a local reverse proxy on Proxmox with Traefik and Cloudflare

After setting up my AI homelab and various other services in a previous blog post, my friend Nader and I experimented with how to access some of these services using a domain instead of the IP address without exposing our home IP or opening ports.
In this blog post, I will guide you through setting up a local reverse proxy on Proxmox with Traefik v3 and Cloudflare. This setup will allow you to access your services with a domain name and also secure them with SSL certificates.
What is a reverse proxy?
A reverse proxy is a server that sits between clients and servers. It forwards client requests to the appropriate backend server and then returns the server’s response to the client. This allows you to host multiple services on a single server and route traffic based on the domain name.
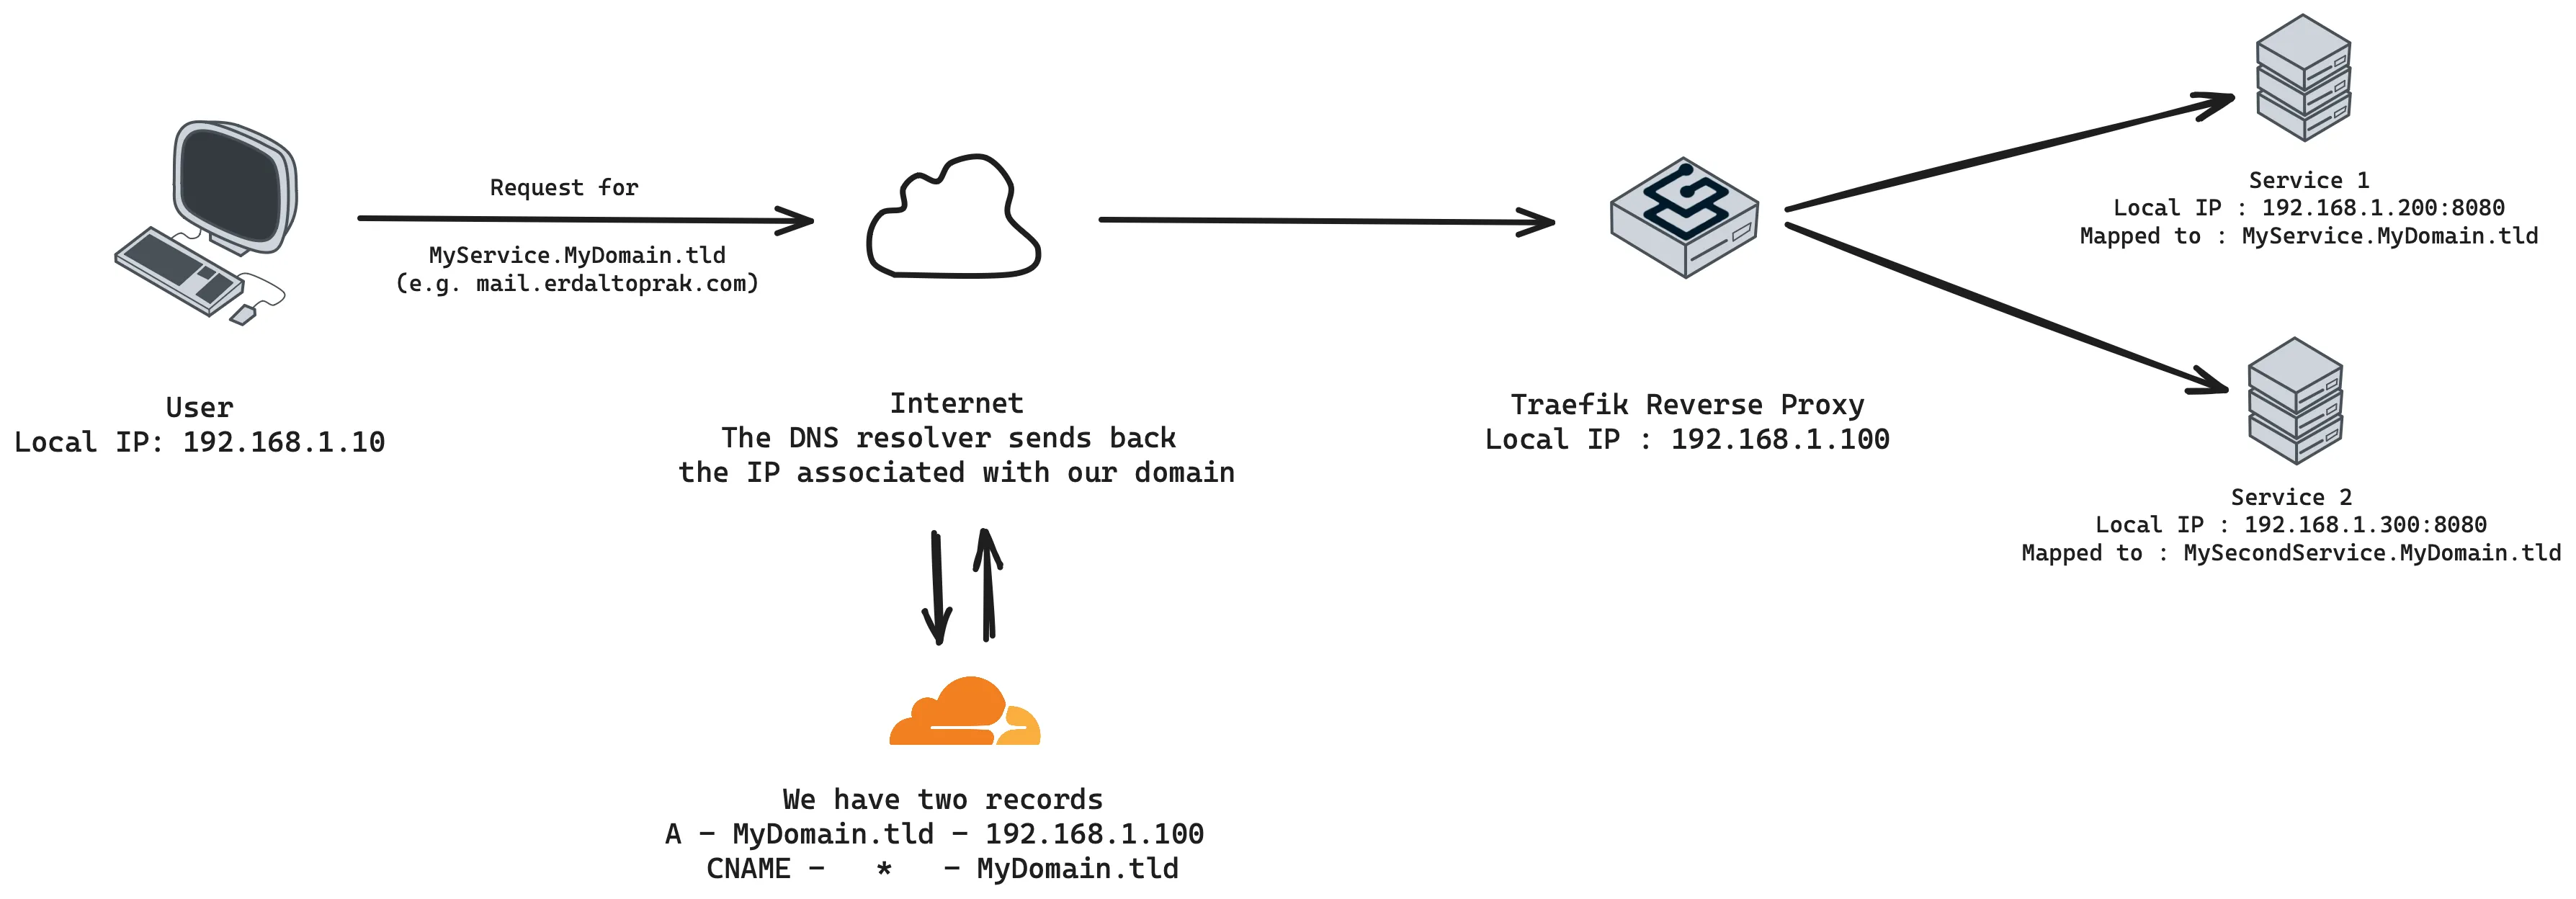
In this simplified diagram, the user wants to access “MyService.MyDomain.tld”, the requests goes through the DNS resolver, which gets a local IP address from Cloudflare and then the reverse proxy forwards the request to the correct service.
My Proxmox setup
On my Proxmox setup I have a few LXC containers running various services. I have a dedicated LXC container for Traefik v3, which is an underprivileged Alpine Linux container with Docker installed. This setup is, in my opinion, the most stable way to run Traefik on Proxmox.
If you want to replicate the setup I used the ttek script to create the LXC container. You should accept the docker compose installation and the script will install Docker and Docker Compose for you.
bash -c "$(wget -qO - https://github.com/tteck/Proxmox/raw/main/ct/alpine-docker.sh)"Setting up Traefik on Docker
From this point on the setup is heavily inspired by the excellent video tutorial of Techno Tim. Inside the Traefik LXC container, create a folder for the Traefik configuration
mkdir traefikcd traefiktouch docker-compose.ymlservices: traefik: image: traefik:latest # Use the latest Traefik image container_name: traefik # Name of the container restart: unless-stopped # Ensures the container restarts if it stops unexpectedly security_opt: - no-new-privileges:true # Prevents the container from gaining additional privileges networks: proxy: # Connects to the predefined external network named 'proxy' ports: - 80:80 # HTTP port - 443:443 # HTTPS port - 8080:8080 # Traefik dashboard port environment: - CF_API_EMAIL=YOUR_CLOUDFLARE_ACCOUNT_EMAIL # Cloudflare account email for API access - CF_DNS_API_TOKEN=YOUR_CLOUDFLARE_API_TOKEN_HERE # Cloudflare DNS API token volumes: - /etc/localtime:/etc/localtime:ro # Sync time with the host - /var/run/docker.sock:/var/run/docker.sock:ro # Allows Traefik to interact with Docker - /root/traefik/data/traefik.yml:/traefik.yml:ro # Traefik configuration file - /root/traefik/data/acme.json:/acme.json # SSL certificate file - /root/traefik/data/config.yml:/config.yml:ro # Additional configuration file - /root/traefik/data/logs:/var/log/traefik # Log directory labels: - "traefik.enable=true" # Enable Traefik on this service - "traefik.http.routers.traefik.entrypoints=http" # Define HTTP entrypoint - "traefik.http.routers.traefik.rule=Host(`traefik.MyDomain.TLD`)" # Host rule for routing - "traefik.http.middlewares.traefik-auth.basicauth.users=traefik:$2y$$05$$fkKKsDM0LEQAG6nPuk7dxeJElSkGJxCeuCsZgwoQWqPzyZdRkfYeK" # Basic auth for security traefik for username/pass - "traefik.http.middlewares.traefik-https-redirect.redirectscheme.scheme=https" # Redirect HTTP to HTTPS - "traefik.http.middlewares.sslheader.headers.customrequestheaders.X-Forwarded-Proto=https" # Set forwarded headers for SSL - "traefik.http.routers.traefik.middlewares=traefik-https-redirect" # Apply HTTPS redirect middleware - "traefik.http.routers.traefik-secure.entrypoints=https" # Secure entrypoint for HTTPS - "traefik.http.routers.traefik-secure.rule=Host(`traefik.MyDomain.TLD`)" # Host rule for secure routing - "traefik.http.routers.traefik-secure.middlewares=traefik-auth" # Apply authentication middleware - "traefik.http.routers.traefik-secure.tls=true" # Enable TLS for secure connection - "traefik.http.routers.traefik-secure.tls.certresolver=cloudflare" # Use Cloudflare for SSL certificate resolution - "traefik.http.routers.traefik-secure.tls.domains[0].main=MyDomain.TLD" # Main domain for SSL certificate - "traefik.http.routers.traefik-secure.tls.domains[0].sans=*.MyDomain.TLD" # SANs for SSL certificate - "traefik.http.routers.traefik-secure.service=api@internal" # Internal service for Traefik API
networks: proxy: name: proxy # Specifies the external network to connect to external: true # Indicates that the network is externalConfiguring Traefik v3 with our services
Get your Cloudflare DNS API key with a restricted scope for the zone you want to use.
Add a docker-compose.yml file with the following content:
In the data folder we need 3 files:
mkdir datacd dataAdd a traefik.yml file with the following content:
api: dashboard: true debug: trueentryPoints: http: address: ":80" http: redirections: entryPoint: to: https scheme: https https: address: ":443" traefik: address: ":8080"serversTransport: insecureSkipVerify: trueproviders: docker: endpoint: "unix:///var/run/docker.sock" exposedByDefault: false file: filename: config.ymlcertificatesResolvers: cloudflare: acme: email: YOUR_CLOUDFLARE_ACCOUNT_EMAIL storage: acme.json dnsChallenge: provider: cloudflare # uncomment this if you have issues pulling certificates through cloudflare, By setting this flag to true disables the need to wait for the #disablePropagationCheck: true resolvers: - "1.1.1.1:53" - "1.0.0.1:53"Add a config.yml file with the following content:
http: #region routers routers: dashboard: entryPoints: - "https" rule: "Host(`MyDomain.TLD`)" middlewares: - default-headers - https-redirectscheme tls: {} service: dashboard #endregion
#region services services: dashboard: loadBalancer: servers: - url: "http://192.168.1.200:8080" passHostHeader: true #endregion
#region middlewares middlewares: https-redirectscheme: redirectScheme: scheme: https permanent: true
default-headers: headers: frameDeny: true browserXssFilter: true contentTypeNosniff: true forceSTSHeader: true stsIncludeSubdomains: true stsPreload: true stsSeconds: 15552000 customFrameOptionsValue: SAMEORIGIN customRequestHeaders: X-Forwarded-Proto: https
default-whitelist: ipWhiteList: sourceRange: - "10.0.0.0/8" - "192.168.0.0/16" - "172.16.0.0/12"
secured: chain: middlewares: - default-whitelist - default-headers #endregionAdd a blank acme.json file:
touch acme.jsonchmod 600 acme.jsonAt start this file will be empty, but Traefik will populate it with the SSL certificates it gets from certbot and the DNS verification through Cloudflare.
Setting up your domain with Cloudflare
Before running Traefik, it’s essential to configure your domain’s DNS settings on Cloudflare to ensure that your services are accessible via your domain name and secured with SSL. Here are the steps to set up the necessary DNS records:
-
Log in to your Cloudflare account and select the domain you want to configure.
-
Navigate to the DNS section of your Cloudflare dashboard.
-
Add the following DNS records:
- A Record: This should point to the local IP address of your Traefik container. Set the name to
@to represent your root domain (e.g.,MyDomain.TLD). - CNAME Record: Create a CNAME record for each subdomain that points to your root domain. For example, if you have a service accessible at
MyService.MyDomain.TLD, create a CNAME record with the nameMyServiceand the valueMyDomain.TLD.
- A Record: This should point to the local IP address of your Traefik container. Set the name to
-
Ensure Proxy Status: Set the proxy status to ‘DNS Only’ for these records.
-
SSL/TLS Configuration:
- Go to the SSL/TLS section of your Cloudflare dashboard.
- Ensure that the SSL/TLS encryption mode is set to ‘Full (strict)’. This ensures that the connection between Cloudflare and your server is secure.
Starting Traefik
In your root folder `/traefik, run the following command to start the Traefik container:
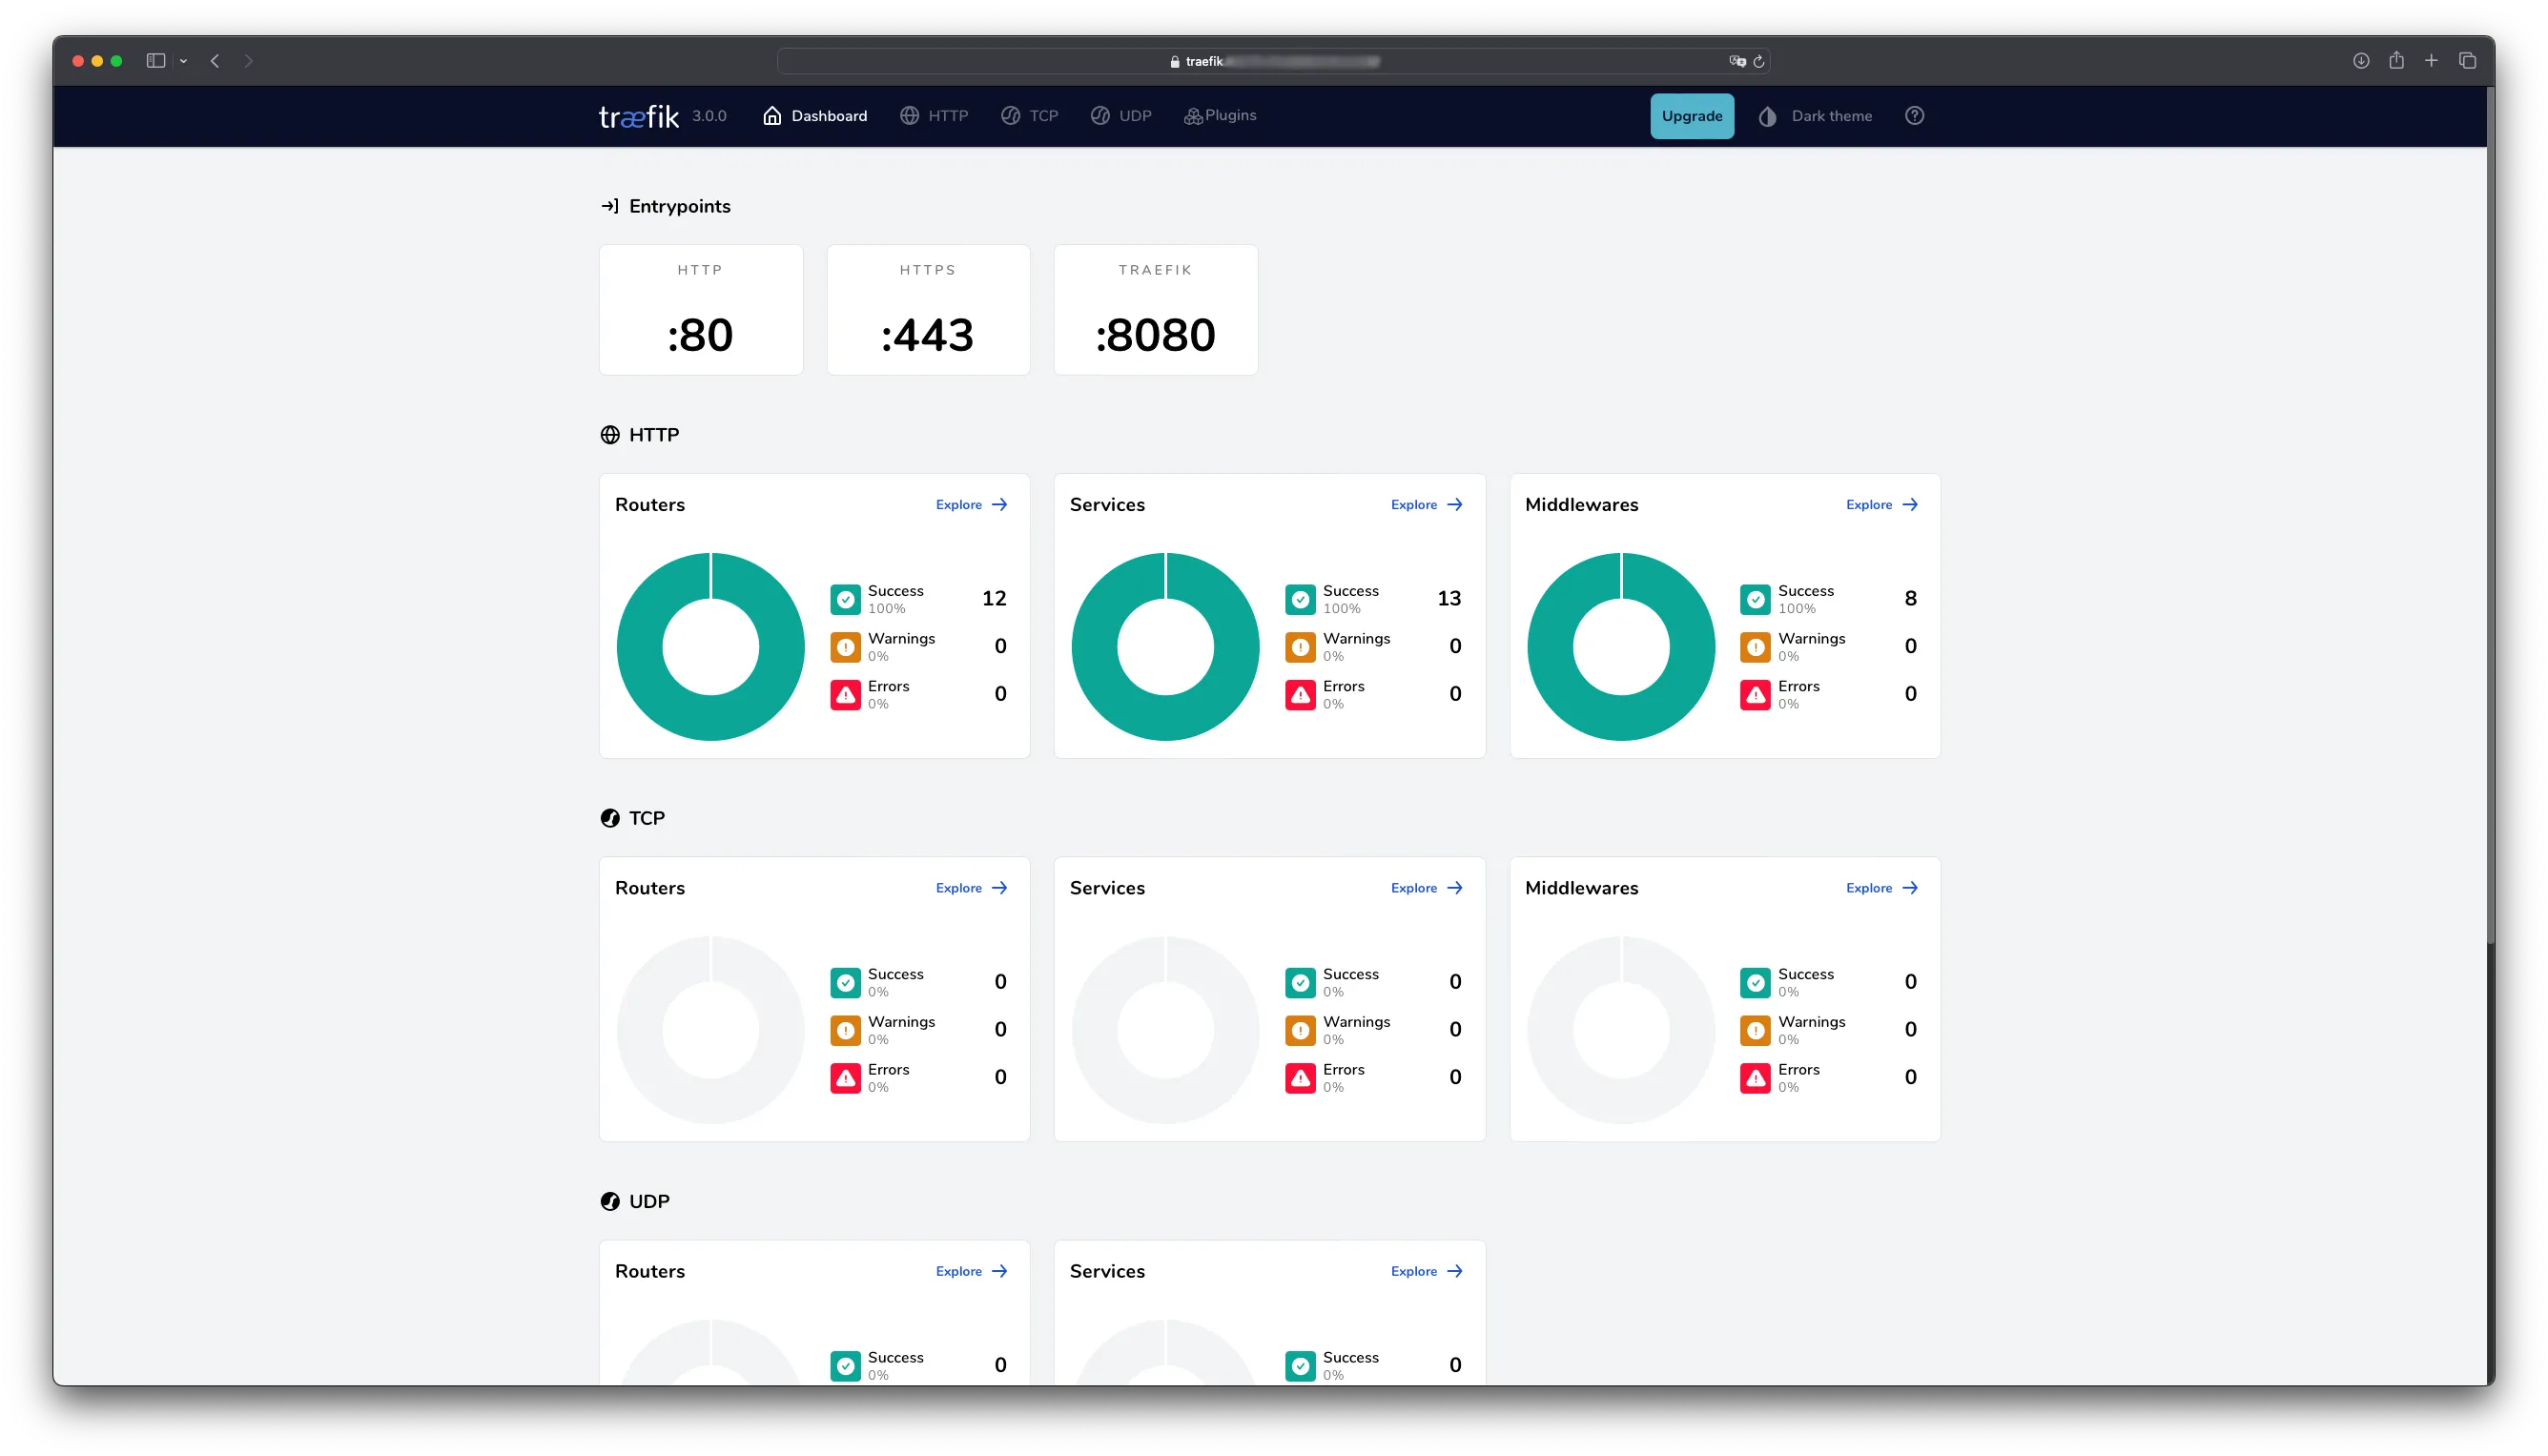
docker network create proxydocker compose up -d --force-recreateAt this point you should be able to access the Traefik dashboard at https://traefik.MyDomain.TLD with the username/password you set in the docker-compose.yml file.
Conclusion
Setting up a local reverse proxy using Proxmox, Traefik, and Cloudflare enhances the security and accessibility of your services. By following the steps outlined in this guide, you can achieve a robust setup that protects your services with SSL certificates and makes them accessible via domain names instead of IP addresses.
If you found this guide useful you can also check the previous ones about Using venv, pyvenv-autoenv, and macOS and Abstracting local development environments through containers.