A few nights ago I was casually browsing on /r/SelfHosted when I came across a post mentioning how insecure some of the home servers are regarding to their WAN access.
The obvious answer is Cloudflare Argo & Cloudflare Access. Before explaining everything, let’s clarify what this guide is about: If you are looking to access your homeserver from outside, for example, your Raspberry Pi, in a secure way without exposing ports on your own, this guide is for you.
Before you begin you will need a few things:
- A Cloudflare account
- A registered domain name with access to the DNS panel (ideally through Cloudflare but at the very least point the nameservers to them)
- A Raspberry Pi or a server with your favorite Linux distribution
- Some basic knowledge of Docker, shell commands and networking
What’s Cloudflare Argo & Access ?
Cloudflare Argo tunnels allows you to create an encrypted tunnel between your homeserver and the Cloudflare servers. This is done seamlessly, in a few lines of shell commands.
As you can see from the image below (from the Cloudflare Blog), you should consider the tunnel like a third party making sure you get the fastest access with the least risks of exposing your services.
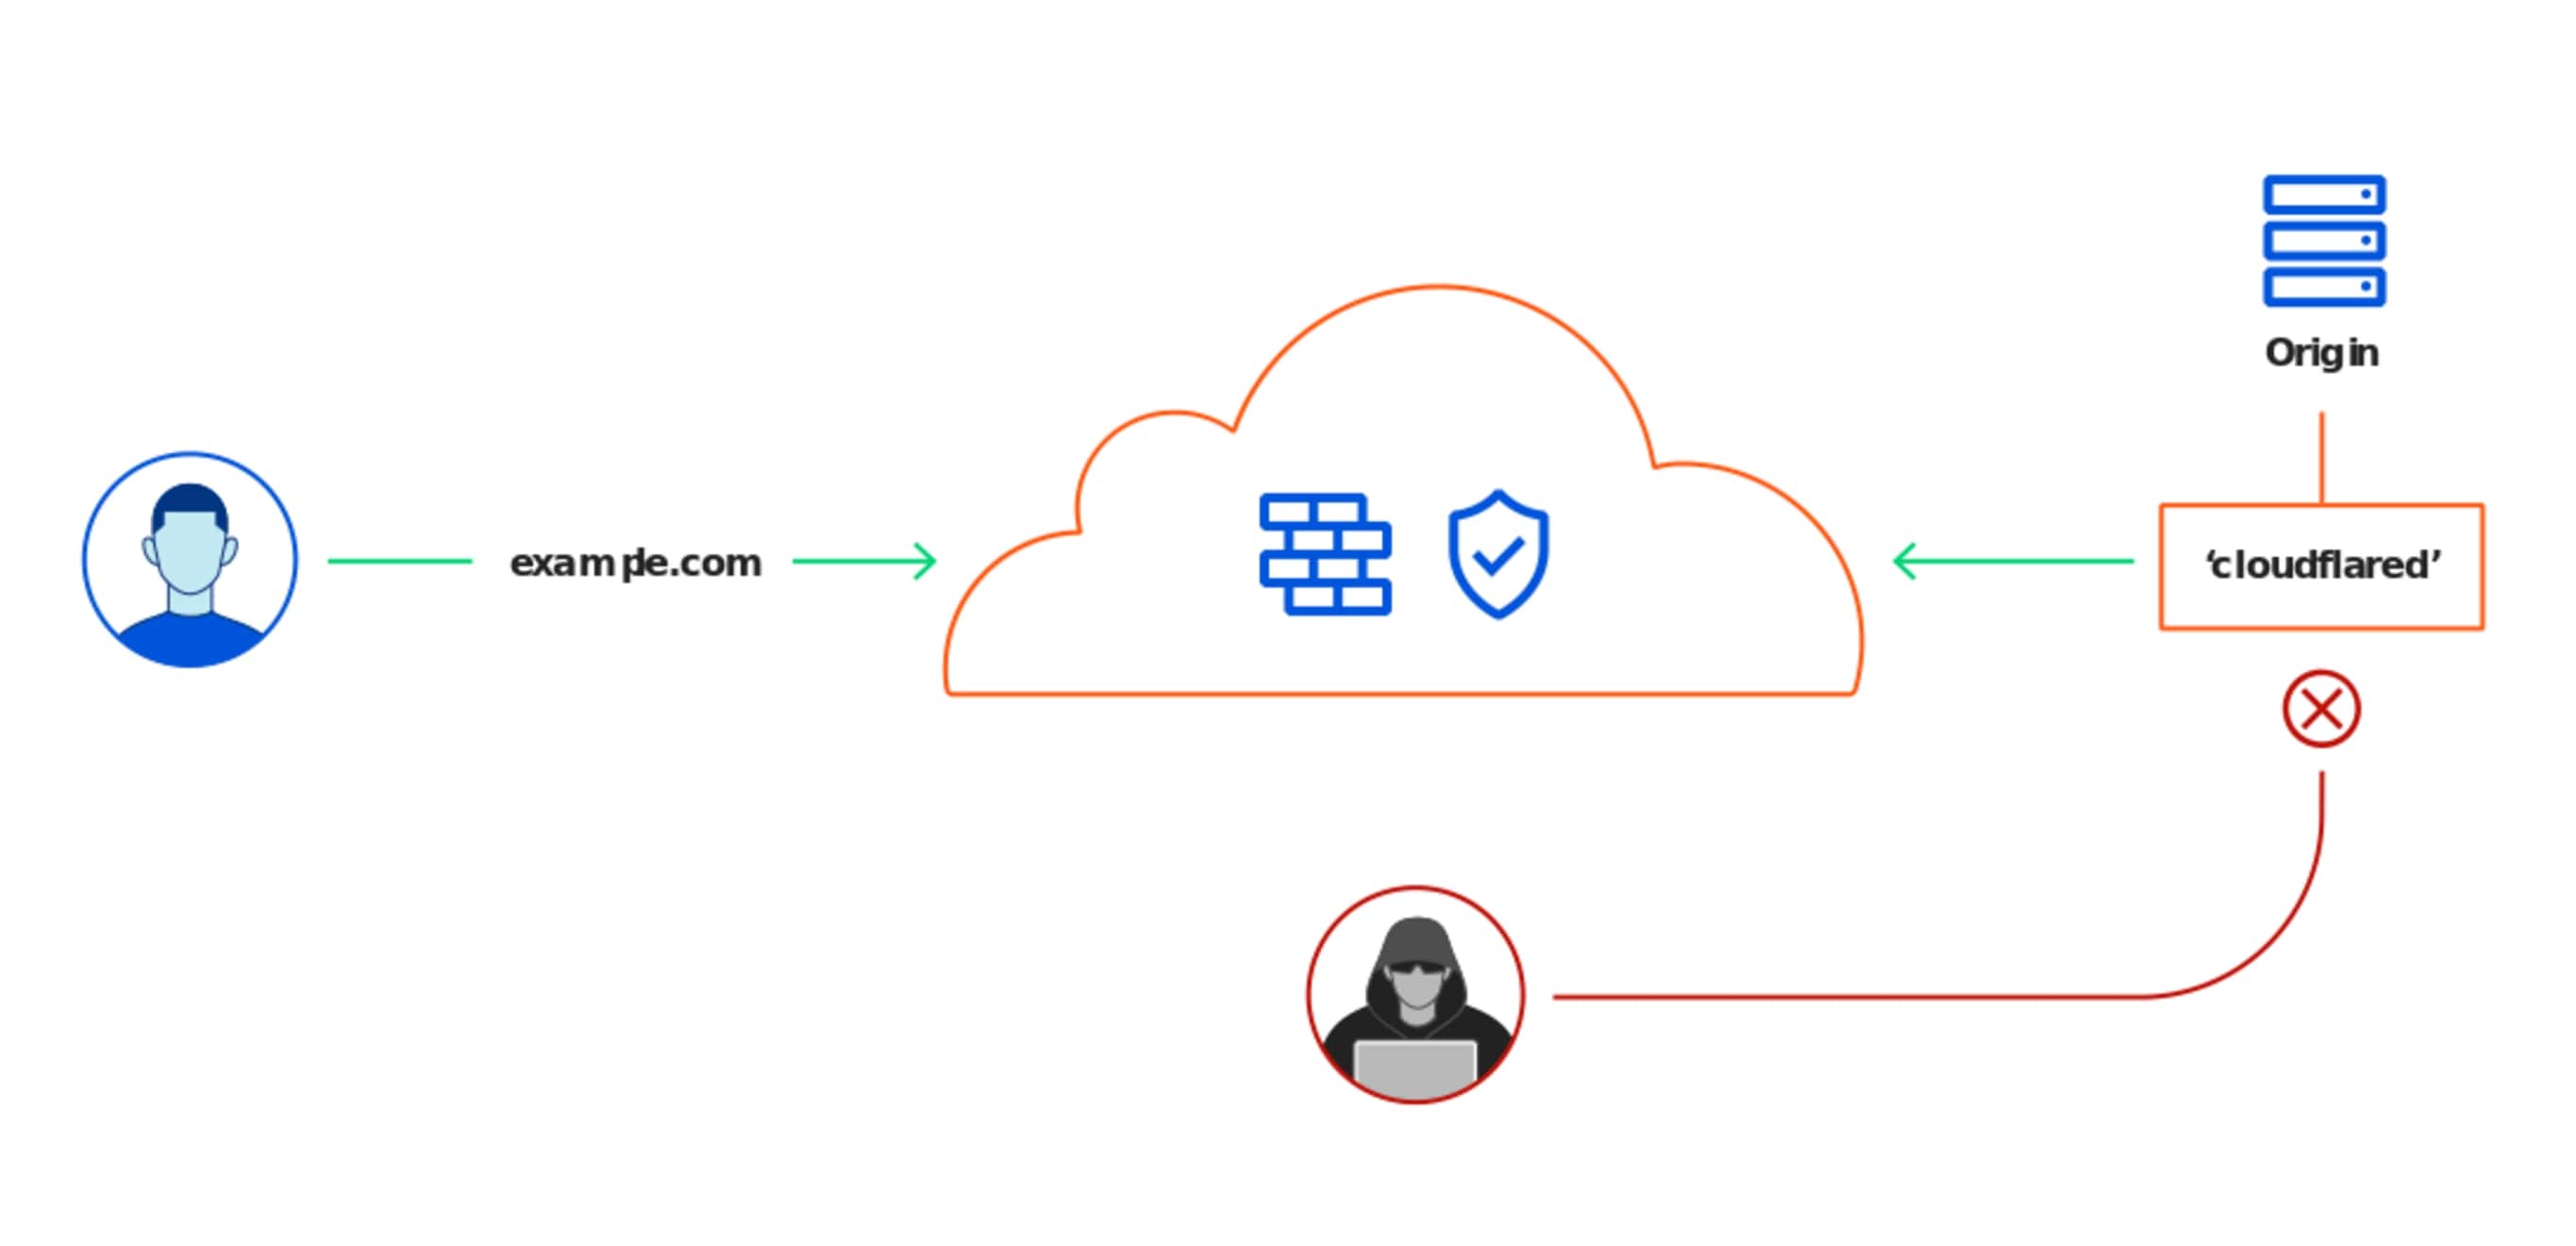
On the technical side you get a few features as a bonus like TLS certificates, DDOS protection and smart routing.
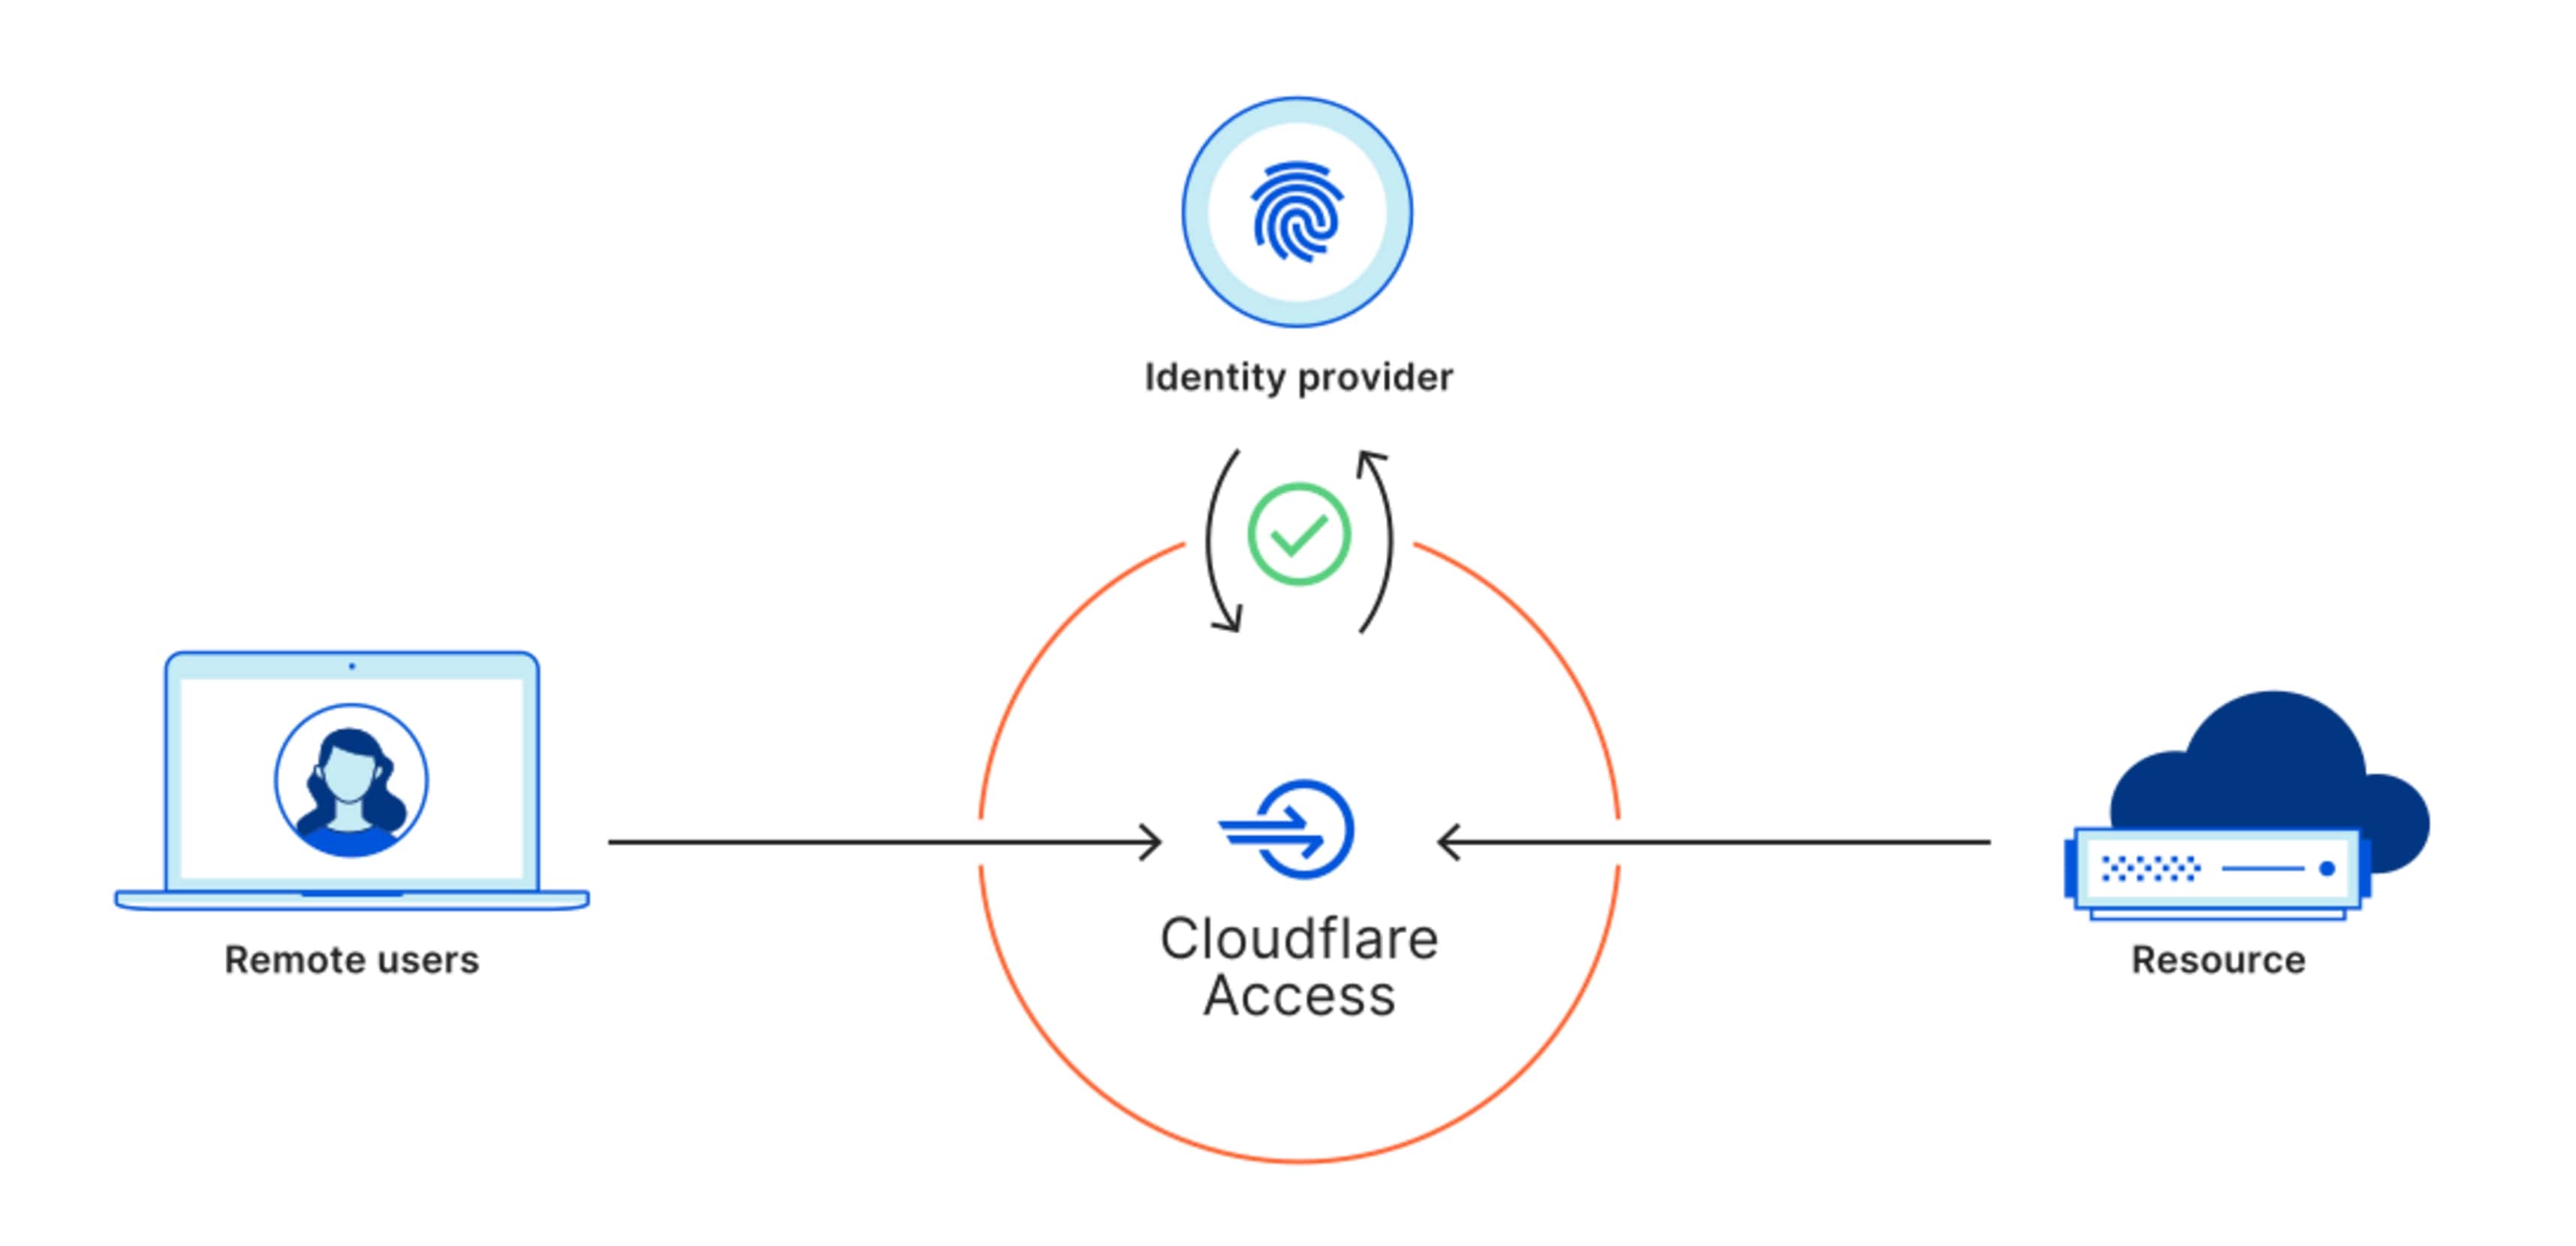
Another Cloudflare service is Access, which is part of Cloudflare Teams and it allows you to use their zero-trust infrastructure to access your services securely. What we are most interested in are the access policies and the application dashboard.
If you are interested in more technical information you should consider reading their developer documentation.
Practical deployment
To illustrate how easy and magical it is, I will deploy from start to finish three docker containers (portainer, gluetun & librespeed) on a Raspberry Pi.
Get your Raspberry Pi OS Lite image and use balenaEtcher to write it down on your SD card. You can add an “ssh” file without any extensions to make your Raspberry Pi headless and accessible from your computer or just plug-it in.
Let’s get some updates:
sudo apt update
sudo apt upgrade
We can now install Docker:
curl -sSL https://get.docker.com | shAdd permissions to the current user:
sudo usermod -aG docker ${USER}Let’s also install docker-compose:
sudo apt-get install libffi-dev libssl-dev
sudo apt install python3-dev
sudo apt-get install -y python3 python3-pip
sudo pip3 install docker-compose
You can enable the docker service:
sudo systemctl enable dockerLet’s deploy our docker containers, but before that a bit of explanation about the containers we are going to use:
- Portainer is a GUI for docker.
- Gluetun is a super awesome, vpn docker container, that allows you to route any other service through that container for additional privacy.
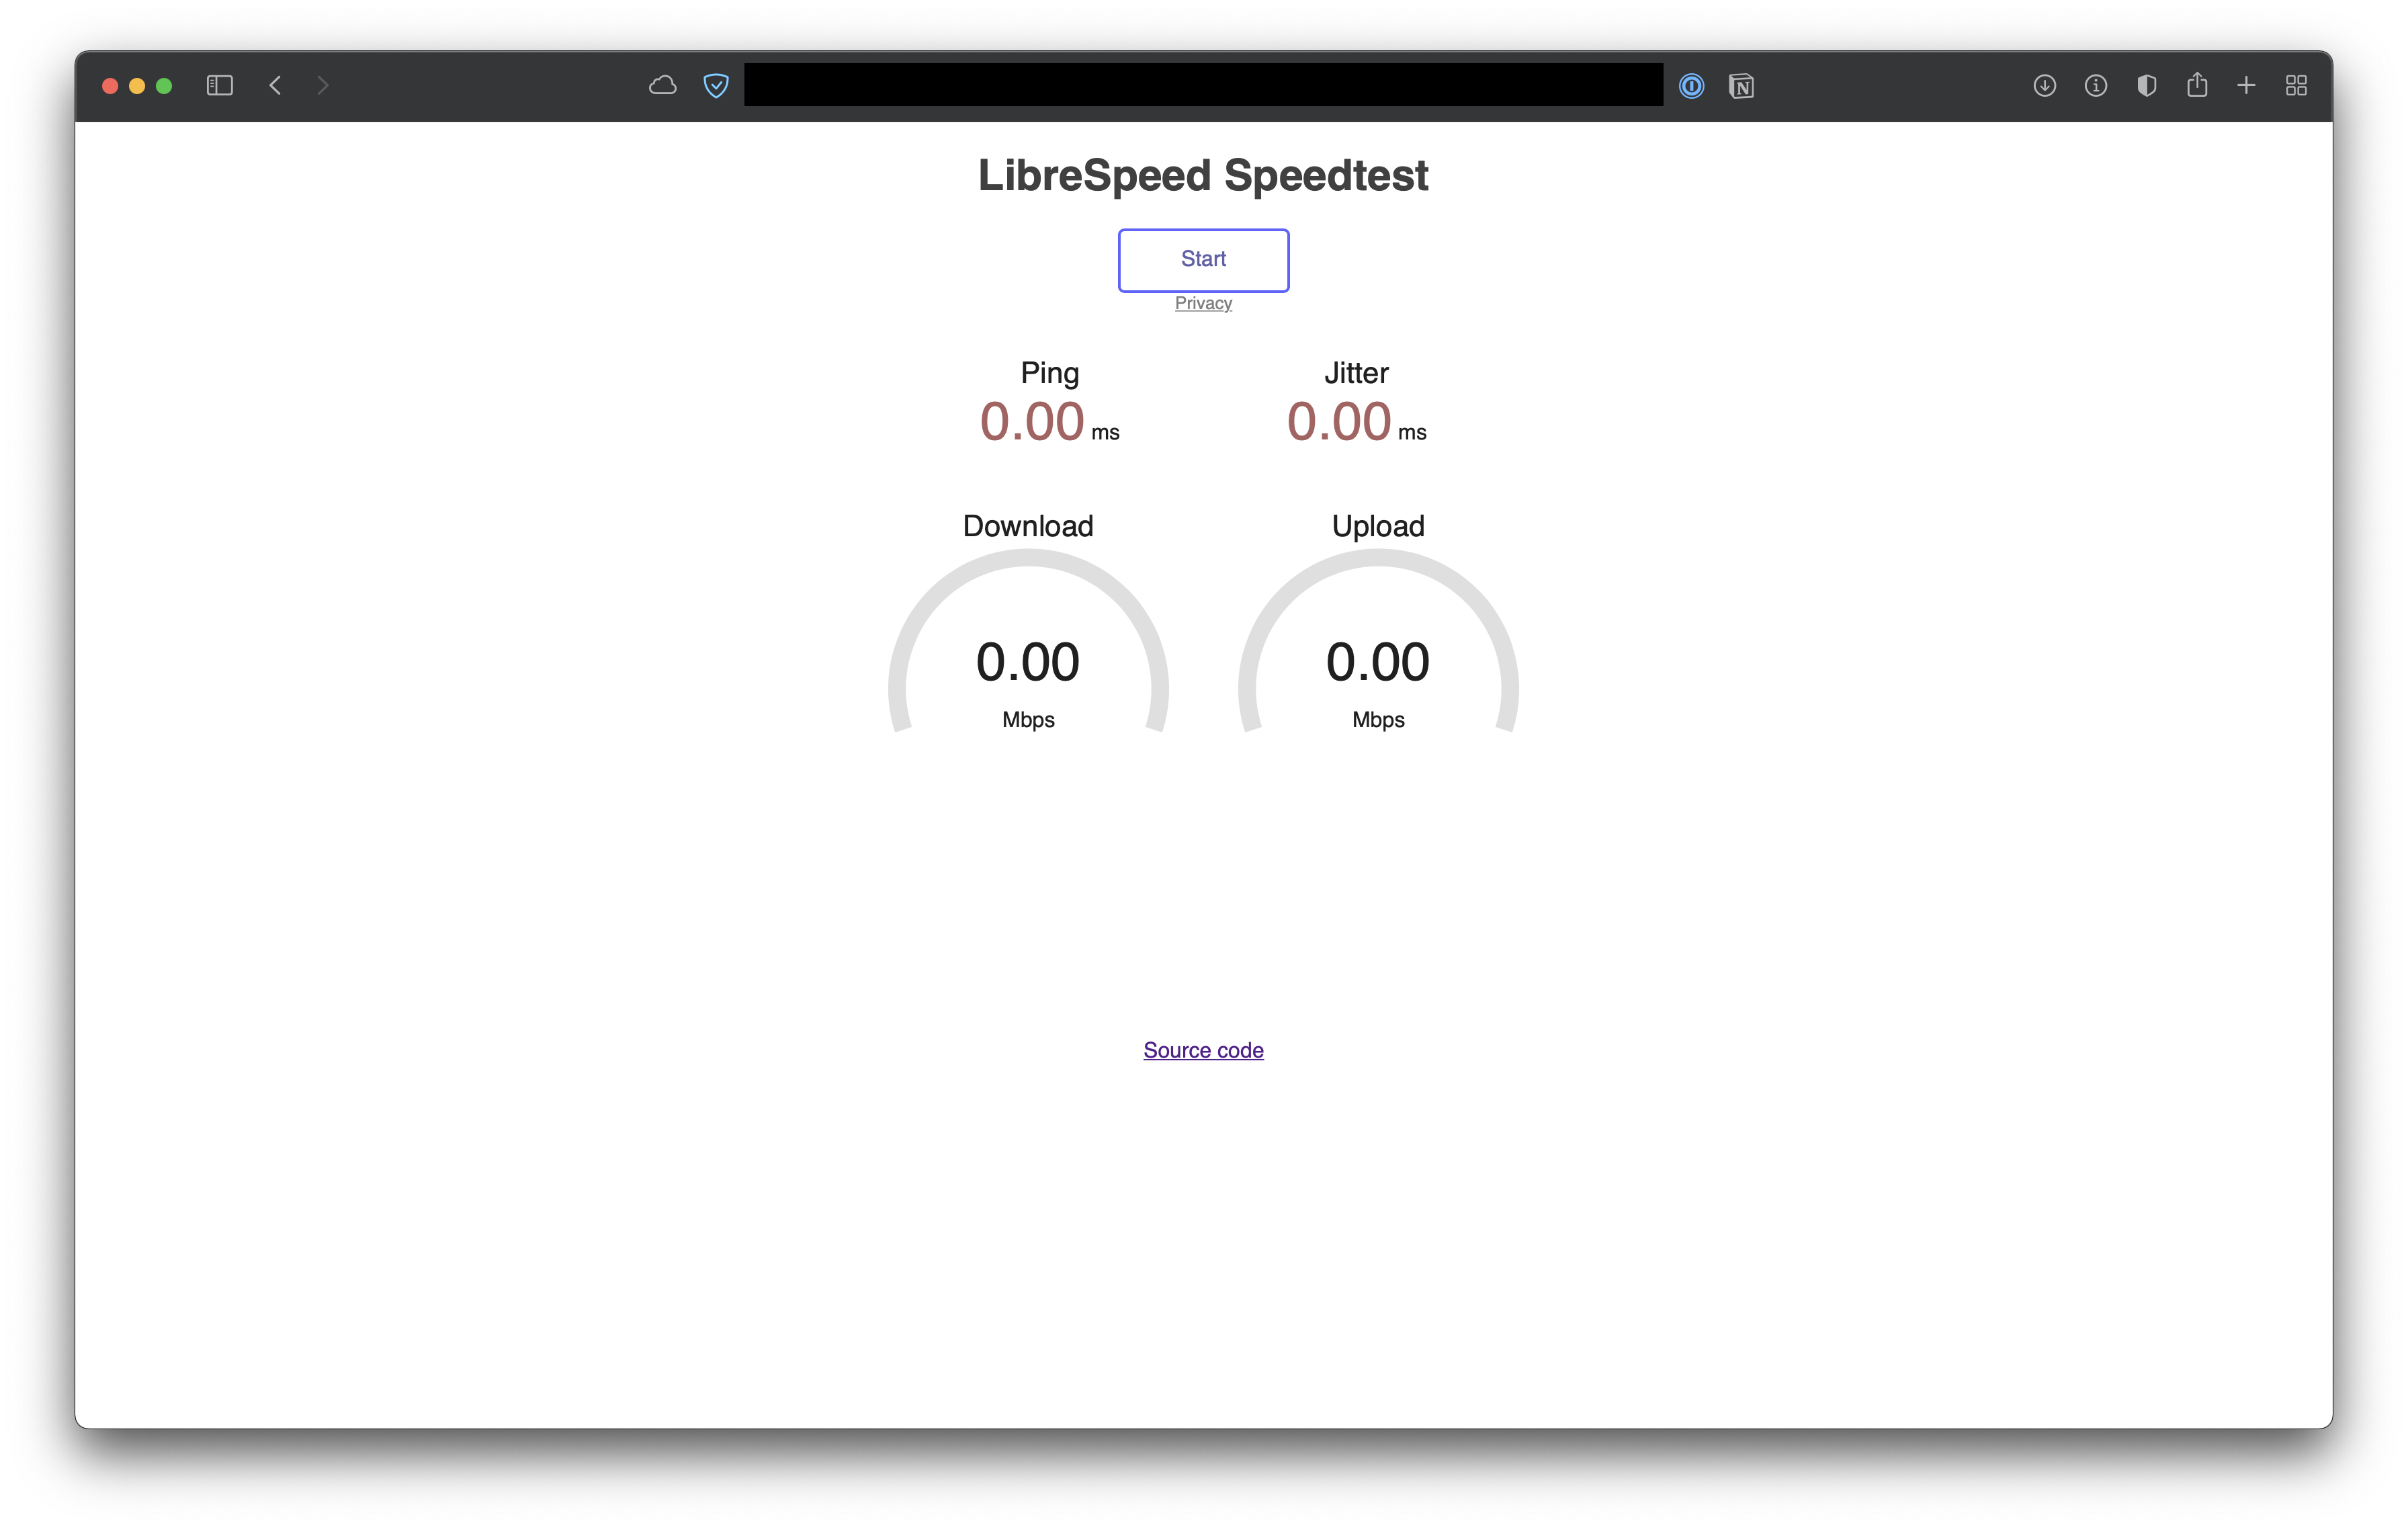
- Librespeed is just a lightweight speedtest implementation and will serve as an exemple of network routing.
All these containers are just here to illustrate this practical example and are not necessary for the Cloudflare side of things.
Let’s start with Portainer:
docker run -d -p 8000:8000 -p 9443:9443 --name portainer \
    --restart=always \
    -v /var/run/docker.sock:/var/run/docker.sock \
    -v portainer_data:/data \
    portainer/portainer-ce:latest
You can go to http://[your-machine-ip]:9443 and finish the Portainer setup on your own (and follow the official guide if needed)
If you did everything right, your Portainer dashboard should look like this (without the two other containers at this moment): 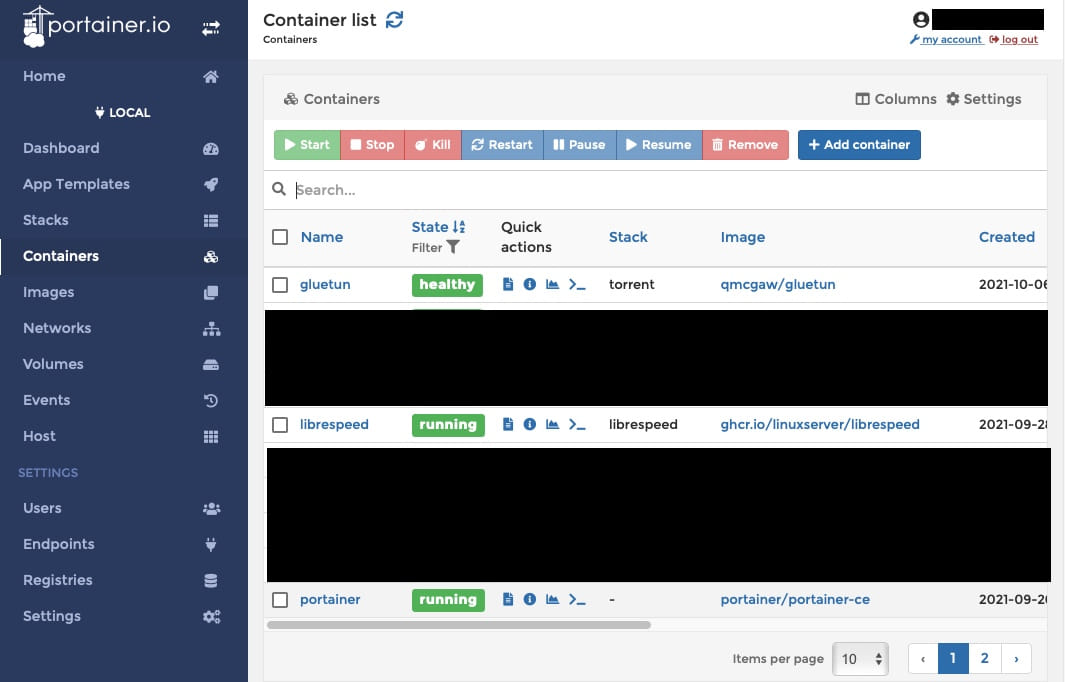
Now we can docker compose gluetun and librespeed in one file, please note that I’m using PIA vpn but you can use something else and even skip if needed. This is just an example of how to route a container through another one:
mkdir gluetunAndLibrespeed
cd gluetunAndLibrespeed
touch docker-compose.yml
nano docker-compose.yml
And paste the following lines:
The documentation of gluetun is here if you need help for your vpn.
---
version: "2.1"
services:
  gluetun:
    image: qmcgaw/gluetun
    container_name: gluetun
    cap_add:
      - NET_ADMIN
    volumes:
      - /home/pi/gluetunAndLibrespeed:/gluetun
    environment:
      - VPNSP=private internet access
      - OPENVPN_USER=[YOUR_USERNAME]
      - OPENVPN_PASSWORD=[YOUR_PASSWORD]
      - REGION=[YOUR_REGION]
    ports:
      - 7777:80
    restart: unless-stopped

  librespeed:
    image: ghcr.io/linuxserver/librespeed
    container_name: librespeed
    environment:
      - PUID=1000
      - PGID=1000
      - TZ=Europe/Paris
      - PASSWORD=PASSWORD
    volumes:
      - /home/pi/gluetunAndLibrespeed:/config
    network_mode: "service:gluetun"
    depends_on:
      - gluetun
    restart: unless-stopped
To get this started, make sure to still be in the folder:
docker-compose up -dFinally the Cloudflare part!
Let’s setup Cloudflare teams to configure our access rules and our dashboard
Go to the Teams area, you should have a configuration page with a teams name selection. I suggest you spend some time on the Teams dashboard to configure a default policy for your apps (I only use the one-time pin), once your understand the basics (policies, dashboard, etc..) let’s add our first self-hosted application.
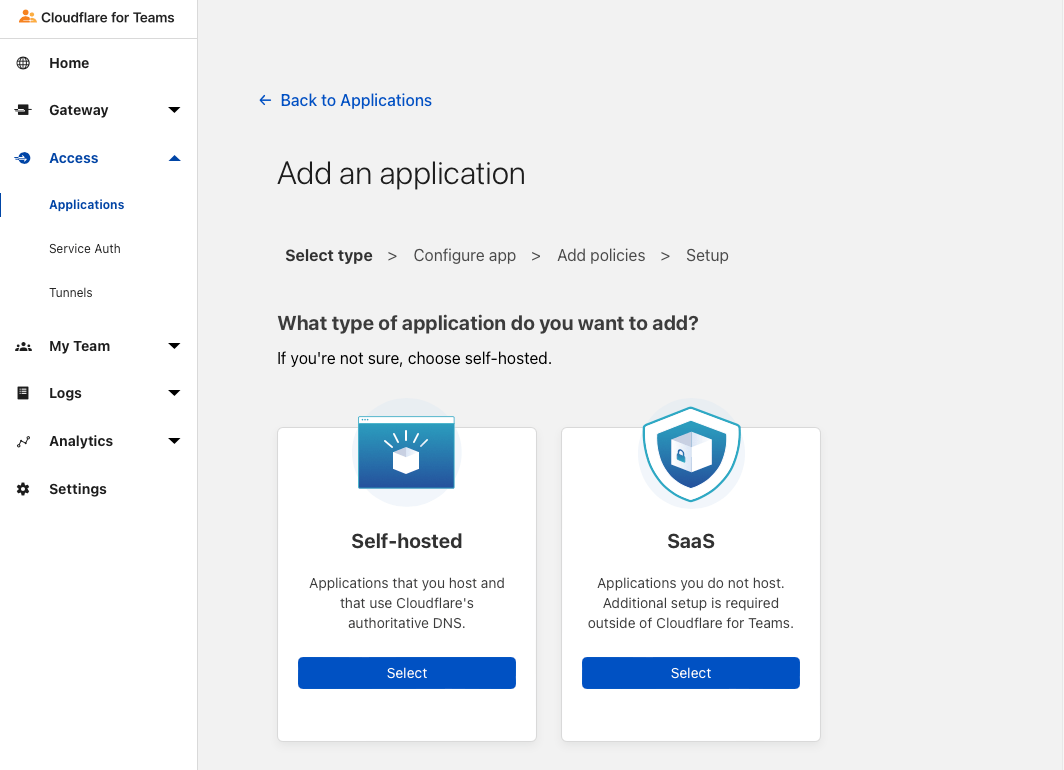
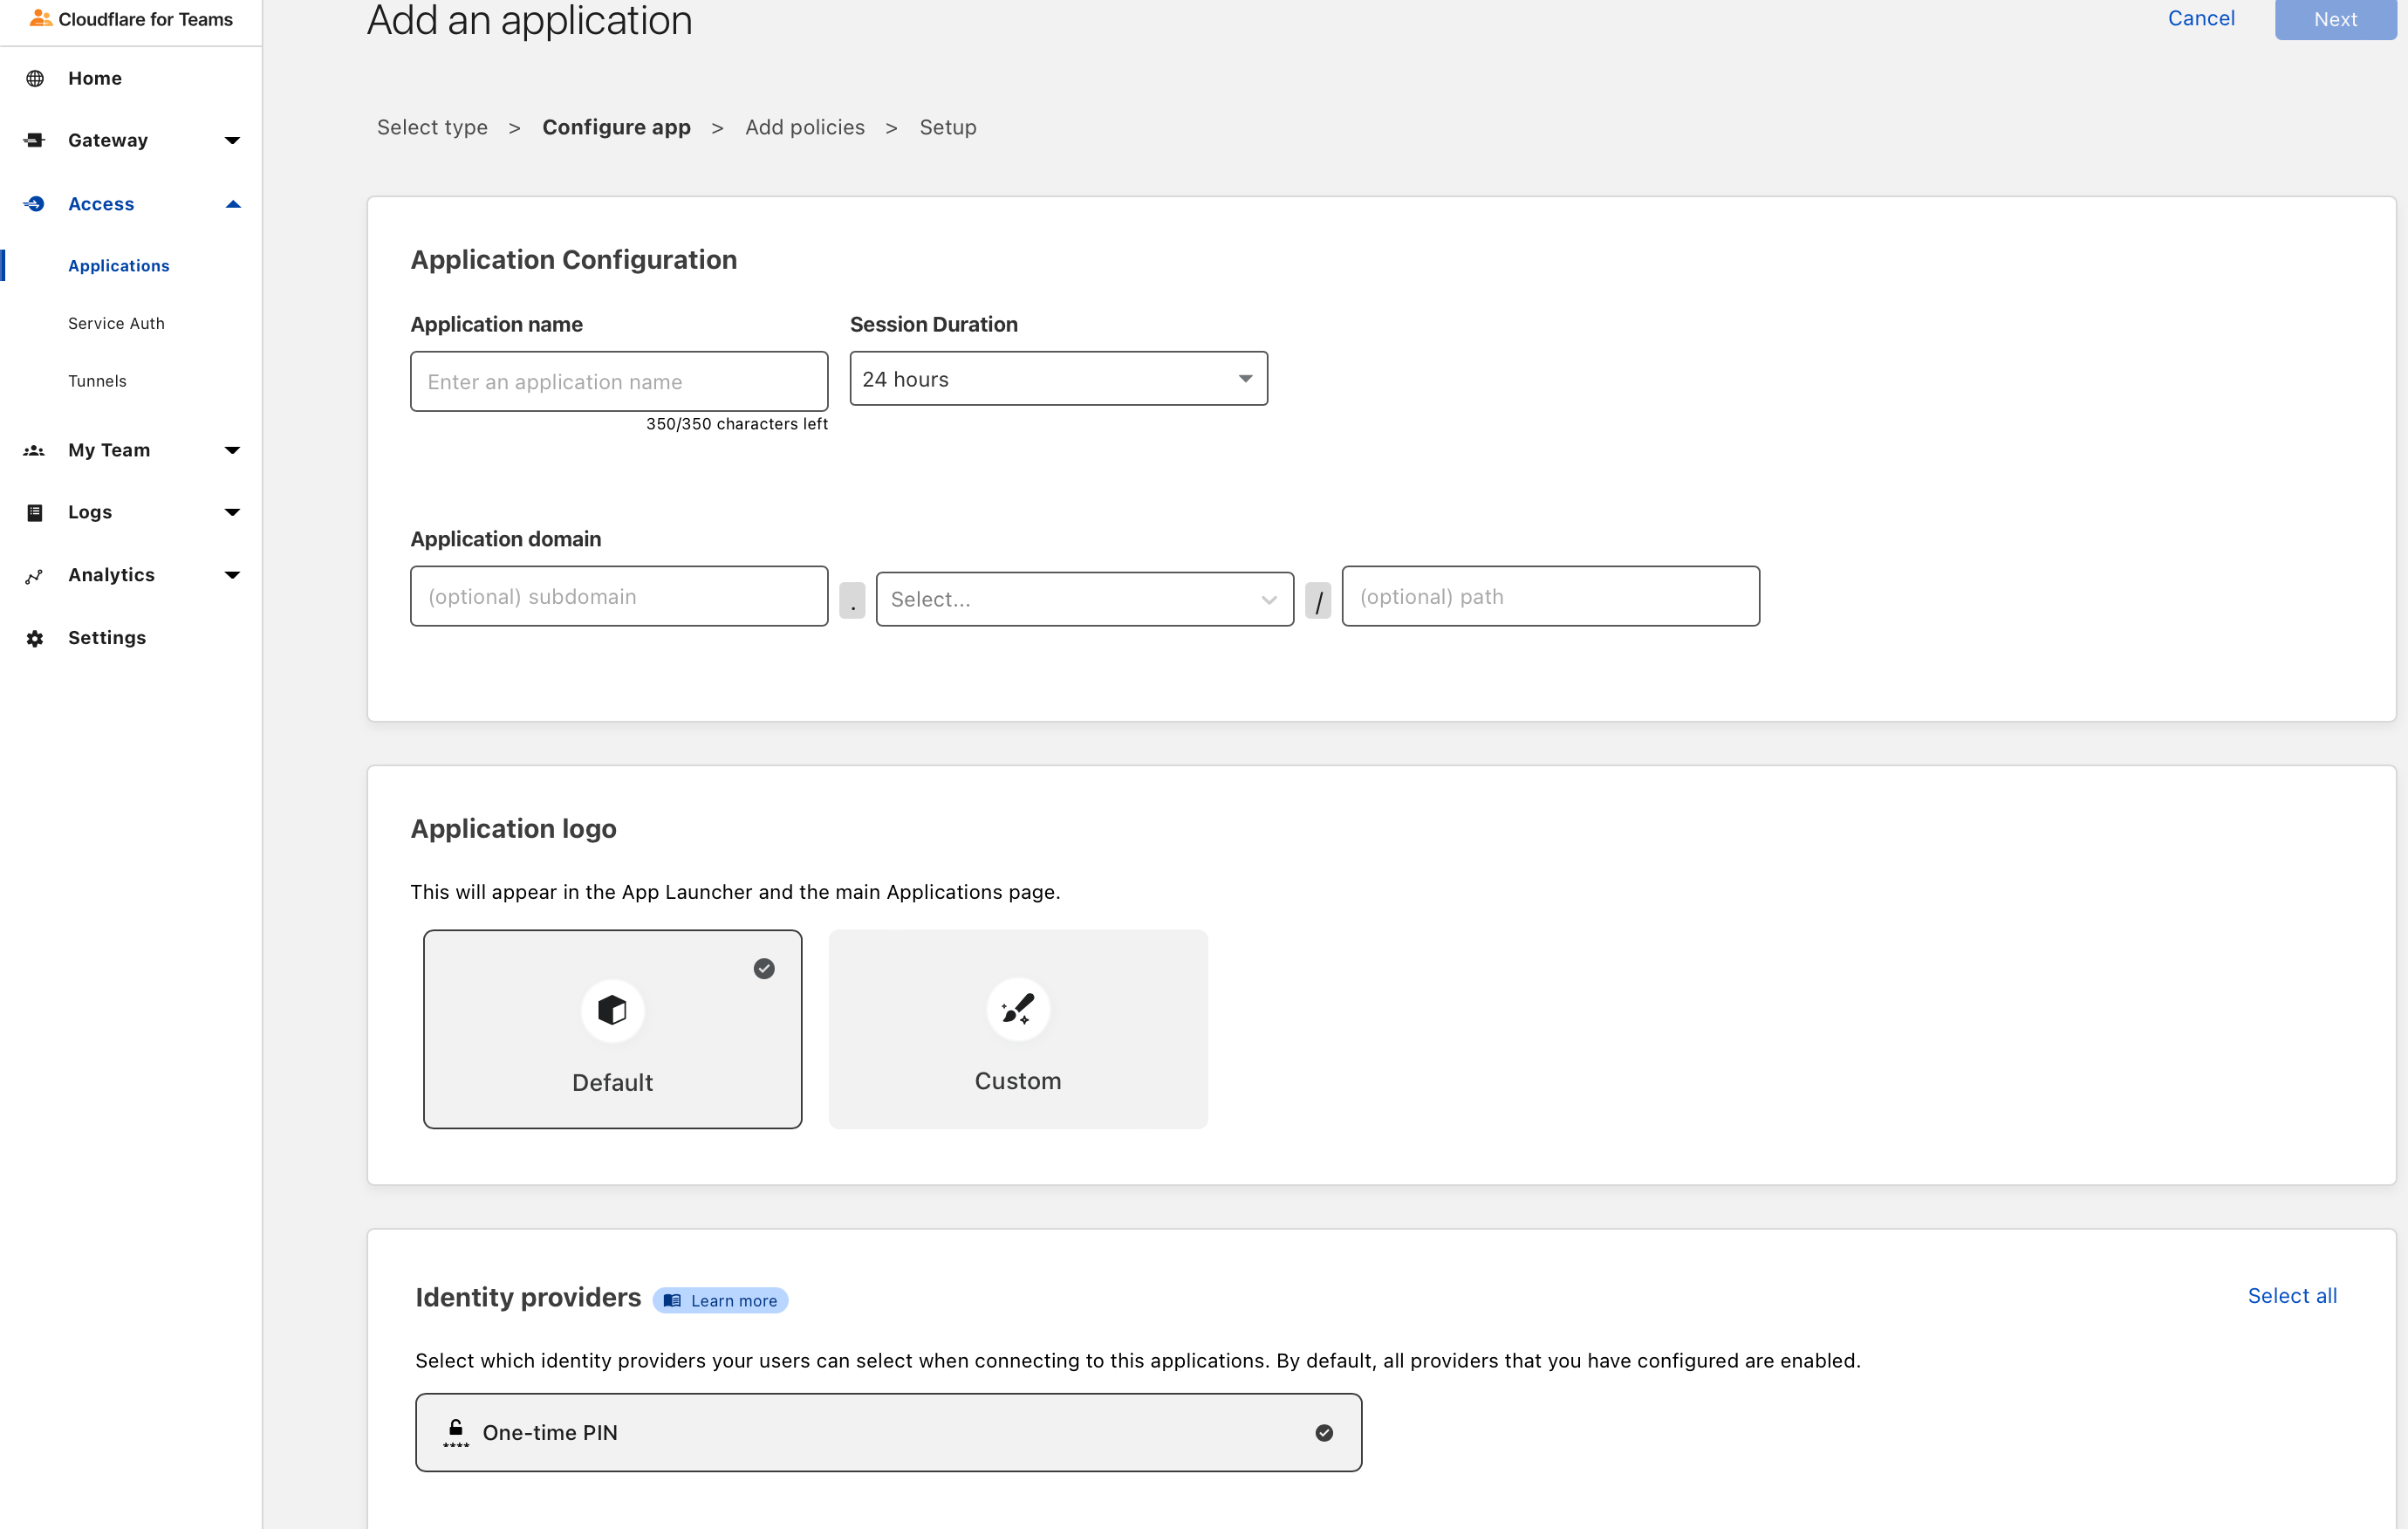
Once you are ready to add your first application, just give it a name, then a subdomain (like librespeed.[YOUR_DOMAIN].tld), choose your domain in the list, then click next to add the policy configuration that you feel comfortable with and you’re pretty much done for the web configuration.
We can use the tunnel as a service, docker container or standalone like we are doing right now. I’m following (and you should too) the great documentation provided by Cloudflare:
cd
wget https://bin.equinox.io/c/VdrWdbjqyF/cloudflared-stable-linux-arm.tgz
tar -xvzf cloudflared-stable-linux-arm.tgz
sudo cp ./cloudflared /usr/local/bin
sudo chmod +x /usr/local/bin/cloudflared
cloudflared -v
Let’s authenticate:
cloudflared tunnel loginOnce this is done, you should have choosen a hostname (like “pi”) and we will use that for the creation of our tunnels. If I want to expose my librespeed container, I will create the tunnel:
cloudflared tunnel create pi librespeed.[YOUR_DOMAIN].tldFinally you modify the configuration file the .cloudflared directory and it should look like this:
# url: http://localhost:9000
tunnel: XXXXXXXXX-XXXX-XXXX-XXXX-XXXXXXXXXXX
credentials-file: /home/pi/.cloudflared/XXXXXXXXXXXXXXXXXXX.json
ingress:
- hostname: librespeed.[YOUR_DOMAIN].tld
service: http://localhost:7777
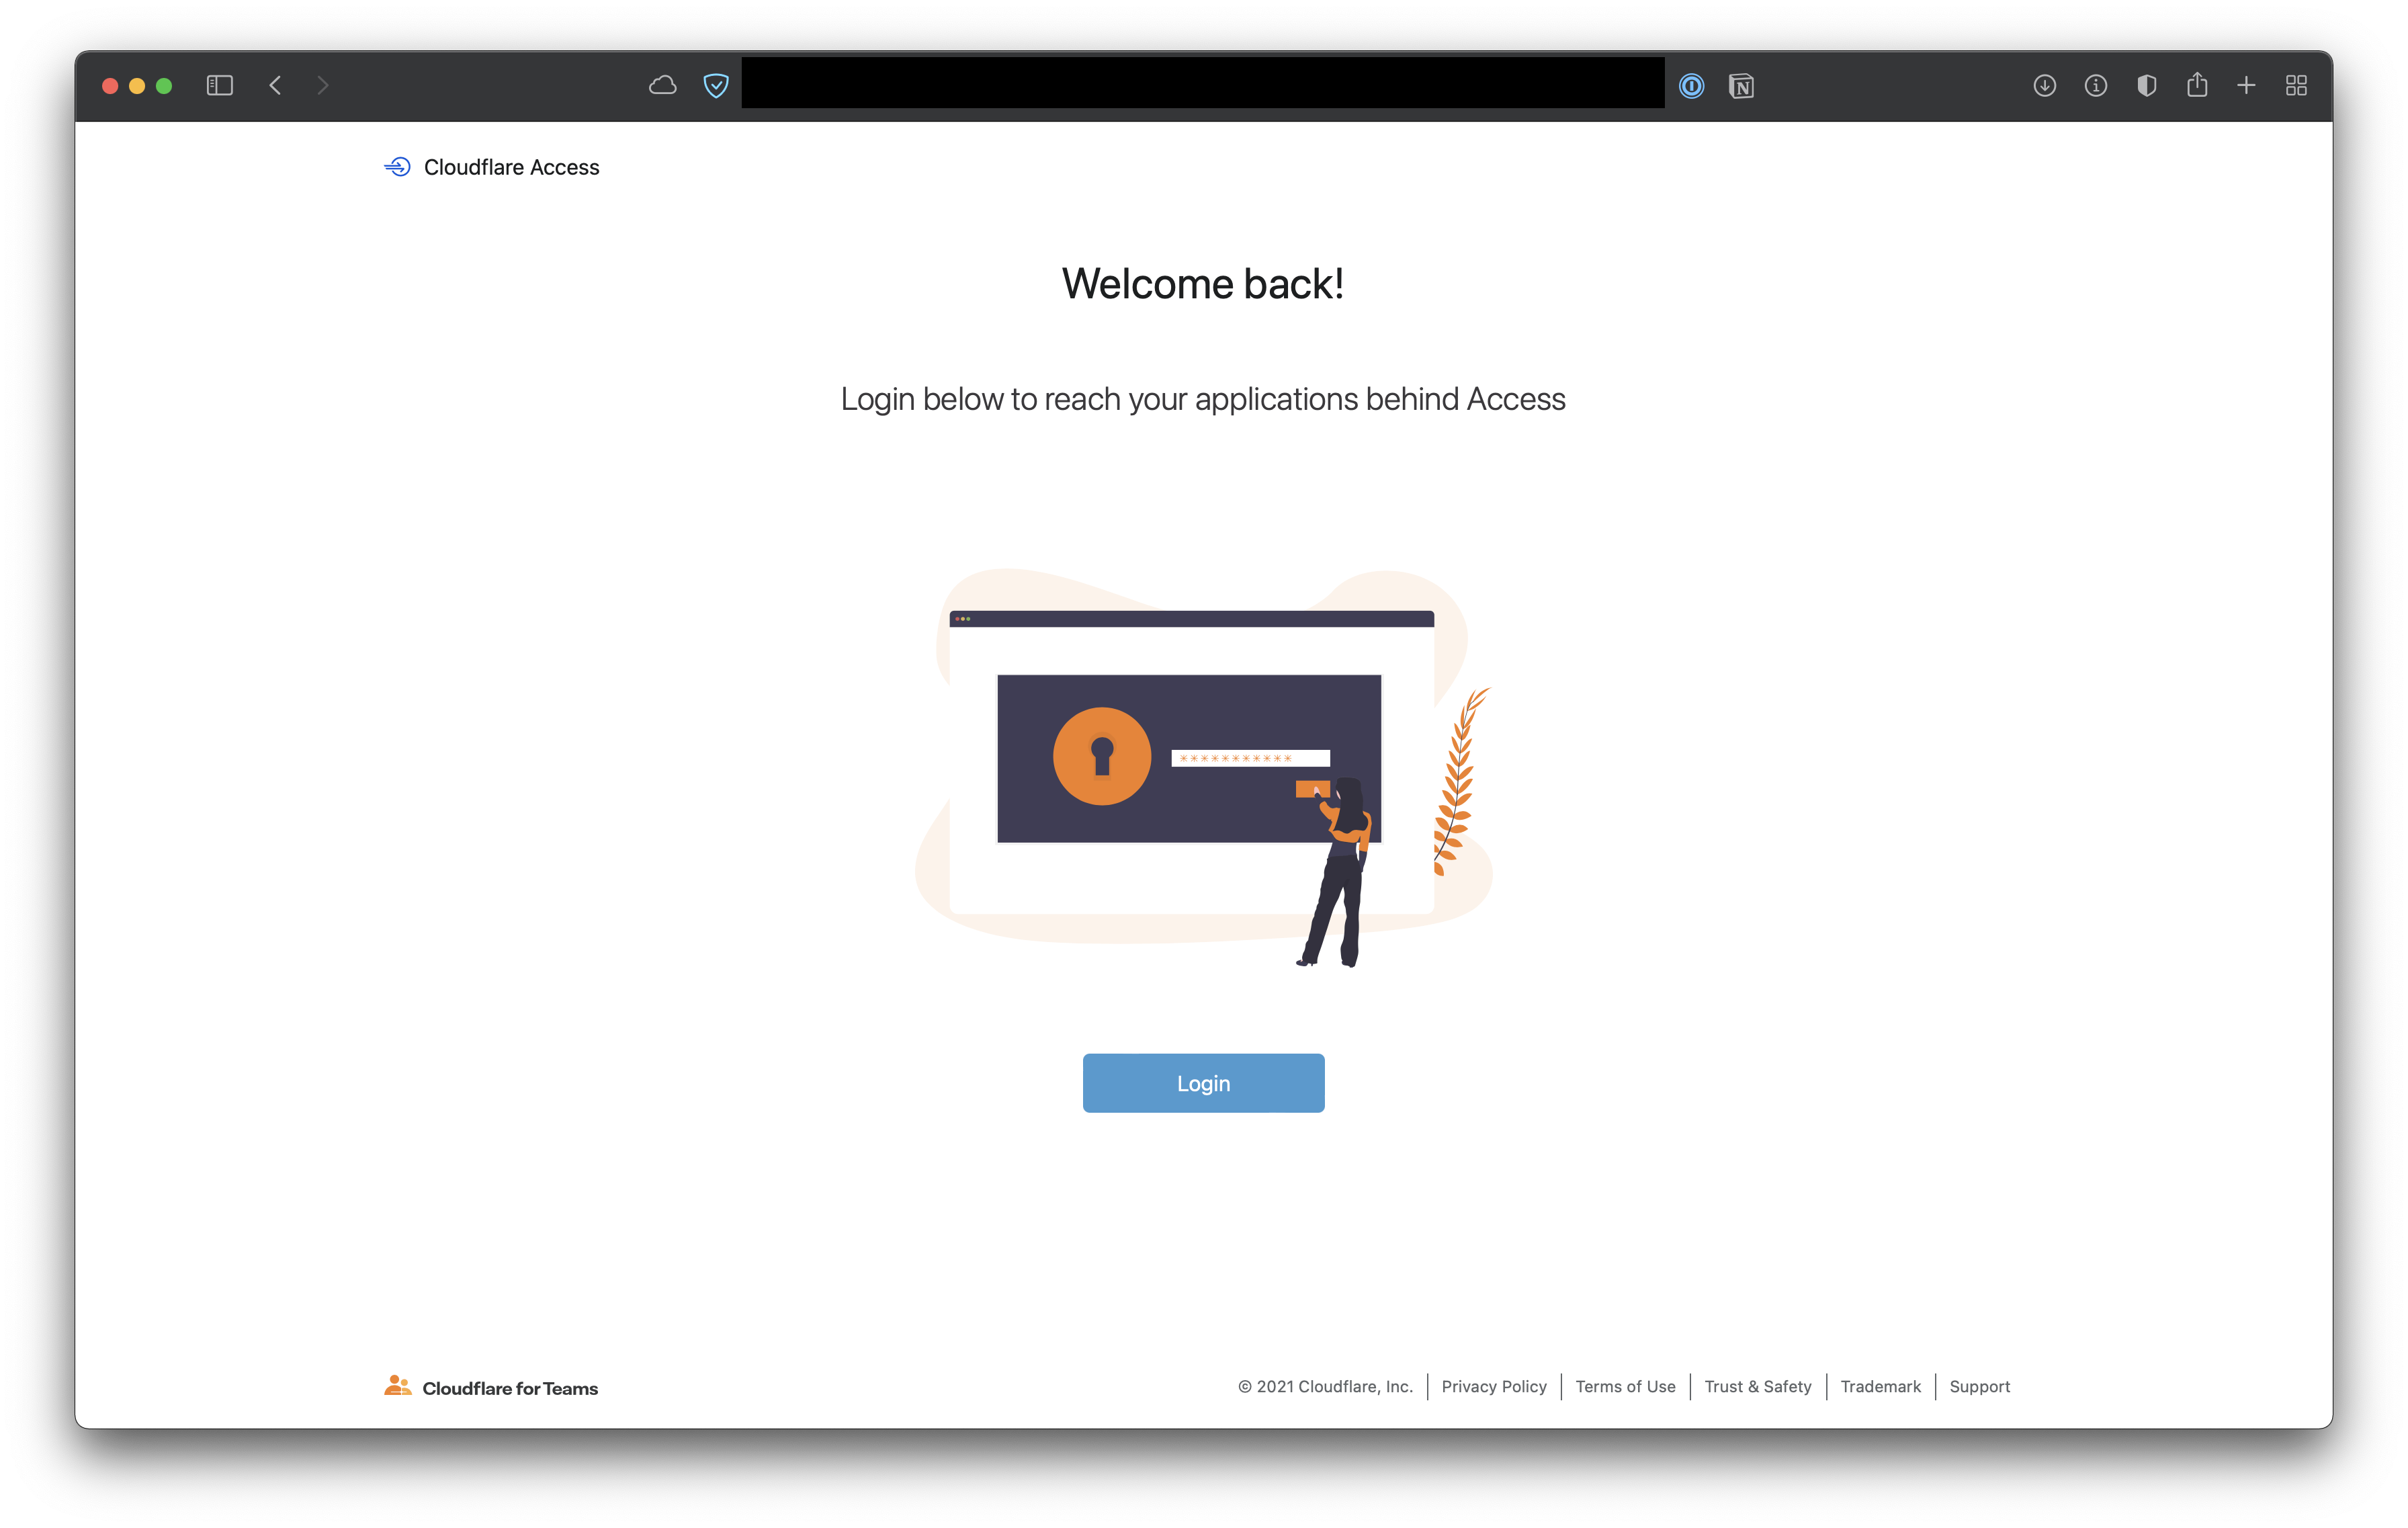
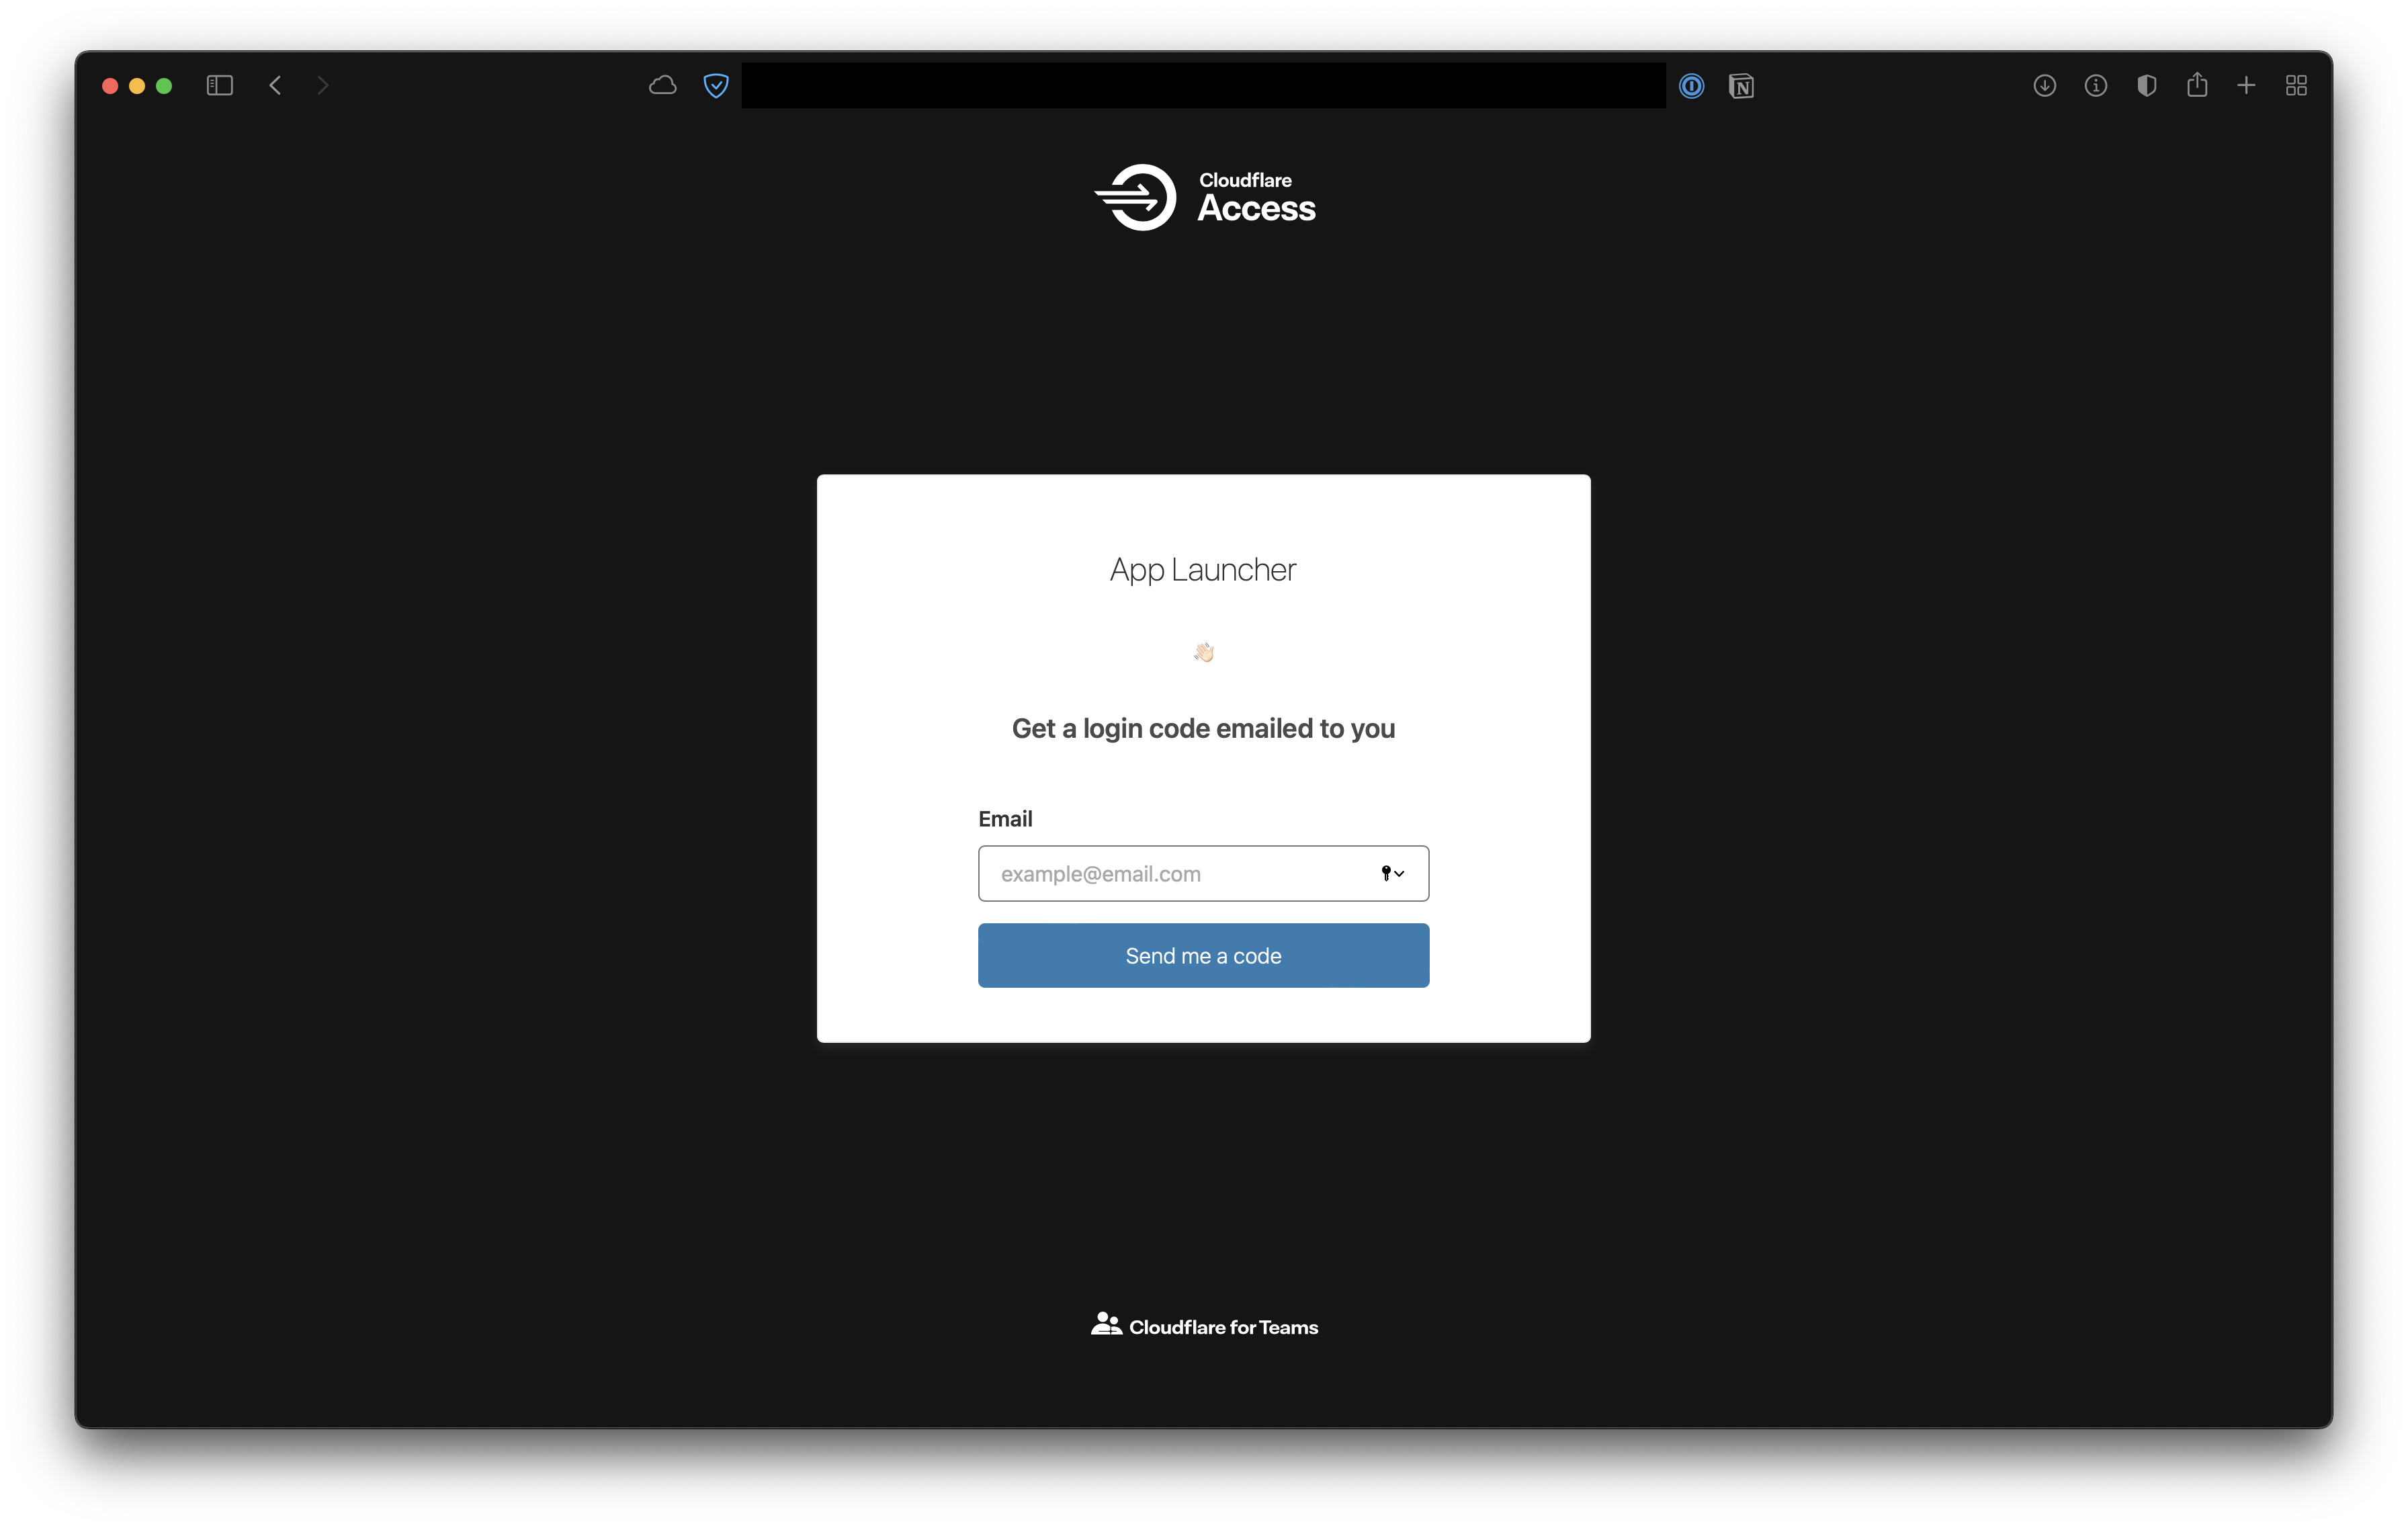
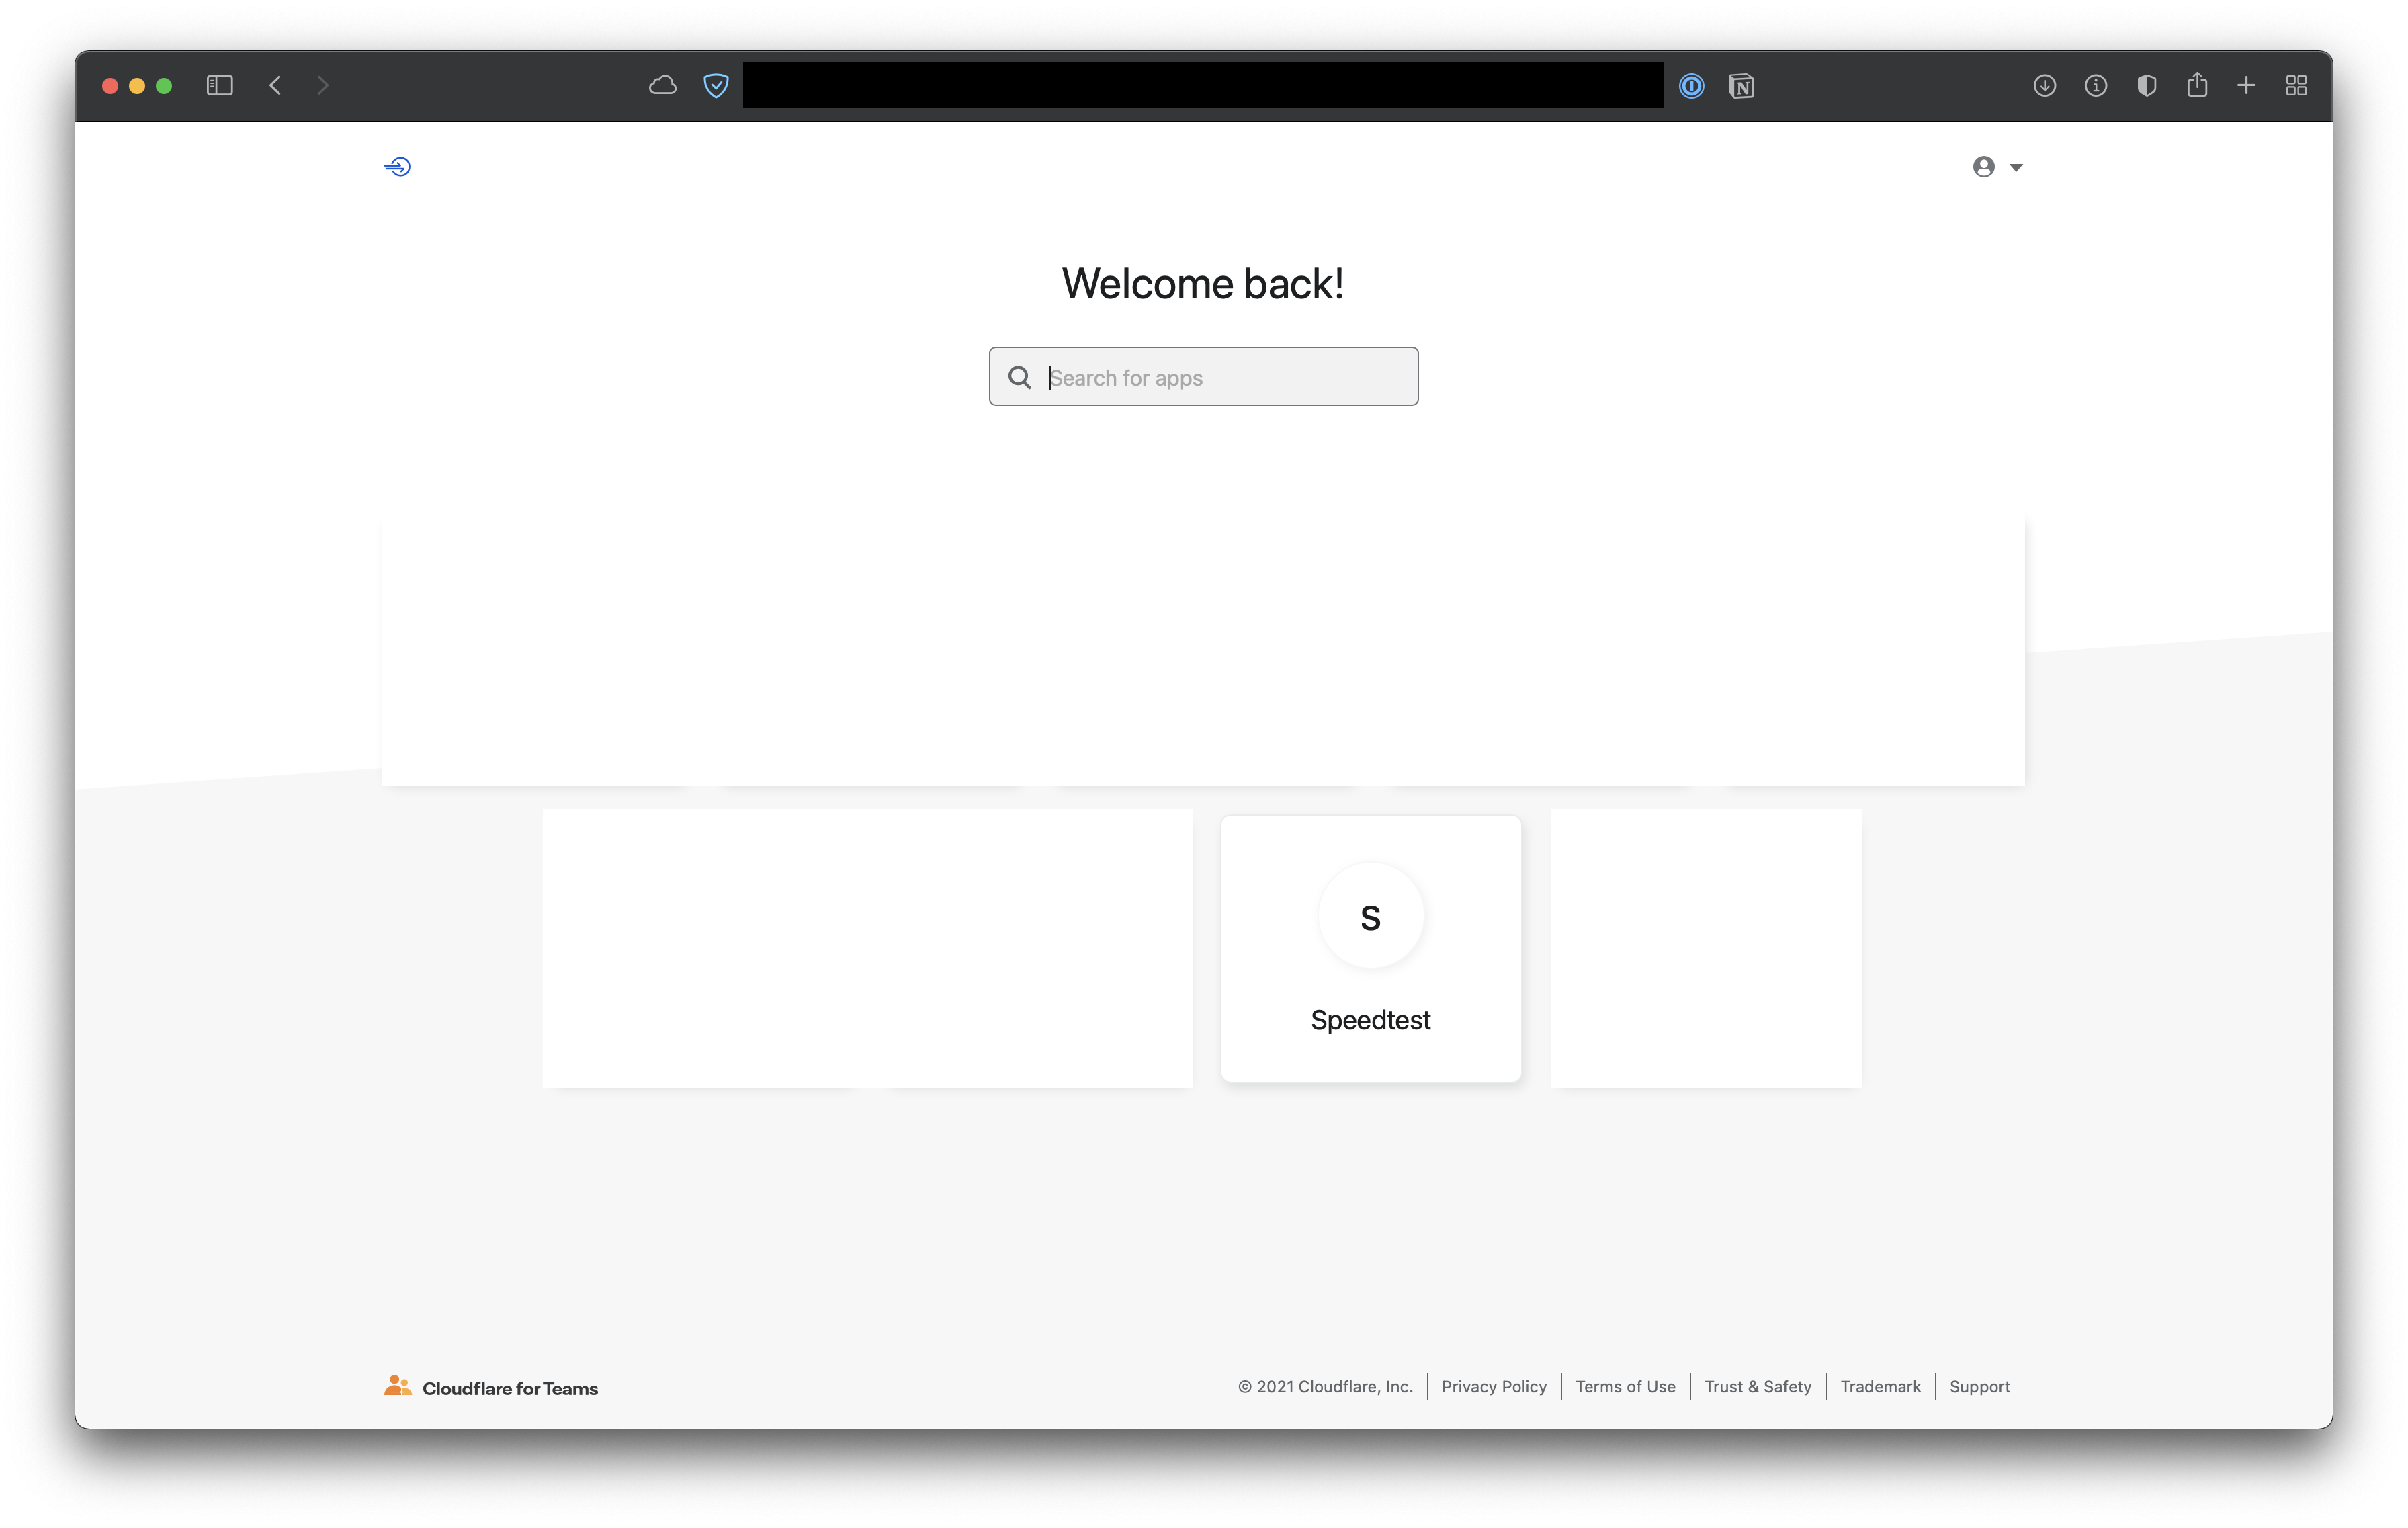
- service: http_status:404Congratulations, go to [YOUR_NAME].cloudflareaccess.com and that’s it, I will include a few screenshots of how it looks like in the browser.
If you enjoyed this guide you can also check the previous one about iCloud custom domains.