Using venv, pyvenv, autoenv on macOS

At some point, you might work on a Python project that requires specific dependencies, such as a machine learning project with an exact PyTorch version. It becomes a necessity to structure your workflow in order to avoid conflicts and iterate quickly across projects.
In this post I will explain the main tools that I use on macOS and show a neat trick in order to switch virtual environments automatically.
Why Use Virtual Environments?
The ability to replicate environments not only makes onboarding easier but also minimizes the « works on my machine » issue. To accomplish our goal, we will need three tools: pyenv, venv, and autoenv.
Pyenv
Pyenv is an incredible tool that allows you to switch between multiple versions of Python. You can even search and install Python versions and set local and global versions.
Venv
Venv is a built-in and simple method for creating isolated Python environments. While pyenv (through pyenv-virtualenv) could be used for isolating projects you should use venv.
Autoenv
Autoenv is magical tool that just makes using virtual environments seamless and uses .env and .env.leave files to activate and deactivate environments.
Setting up the tools
The tools require homebrew or another package manager and the ability to modify your shell.
We first need to install pyenv:
brew install pyenvThen, we need to append the following lines to our .zshrc file:
if command -v pyenv 1>/dev/null 2>&1; then eval "$(pyenv init -)"; fiYou can refer to the documentation but the minimal commands are:
pyenv versionspyenv install your_python_versionpyenv global your_python_versionpyenv local your_python_versionFinally we need autoenv:
brew install autoenvThen executing the following in your zsh shell:
printf '%s\n' "source $(brew --prefix autoenv)/activate.sh" >> "${ZDOTDIR:-$HOME}/.zprofile"Before using the tool you should read the documentation and activate the « AUTOENV_ENABLE_LEAVE » option by setting it to any non empty string.
Practical workflow
Create or clone your project:
mkdir exllama && cd exllamagit clone https://github.com/turboderp/exllamaSet with pyenv the local python version needed:
pyenv local 3.10.10Create the virtual environment:
python3 -m venv venvAdd the .env and .env.leave and approve the autoenv changes:
# .env file for autoenv# It looks quite cryptic but it's to preserve the virtual environment state across sub foldersvenv_dir="venv"currentvenv=""
# Function to traverse up the directory structure to find the parent directory containing venv_folderget_project_root() { local current_dir="$PWD" while [[ "$current_dir" != "" && ! -d "$current_dir/$venv_dir" ]]; do current_dir=${current_dir%/*} done echo "$current_dir"}
root_dir=$(get_project_root)
if [[ -z "$root_dir" || ! -d "$root_dir/$venv_dir" ]]; then echo "Unable to find the virtual environment folder." returnfi
if [[ $VIRTUAL_ENV != "" ]]; then # Strip out the path and just leave the env name currentvenv="${VIRTUAL_ENV##*/}"fi
if [[ "$currentvenv" != "$venv_dir" ]]; then python_version=$(python --version 2>&1) echo "Switching to environment: $venv_dir | $python_version" # Source the activation script source "$root_dir/$venv_dir/bin/activate"fi# .env.leave for autoenvdeactivate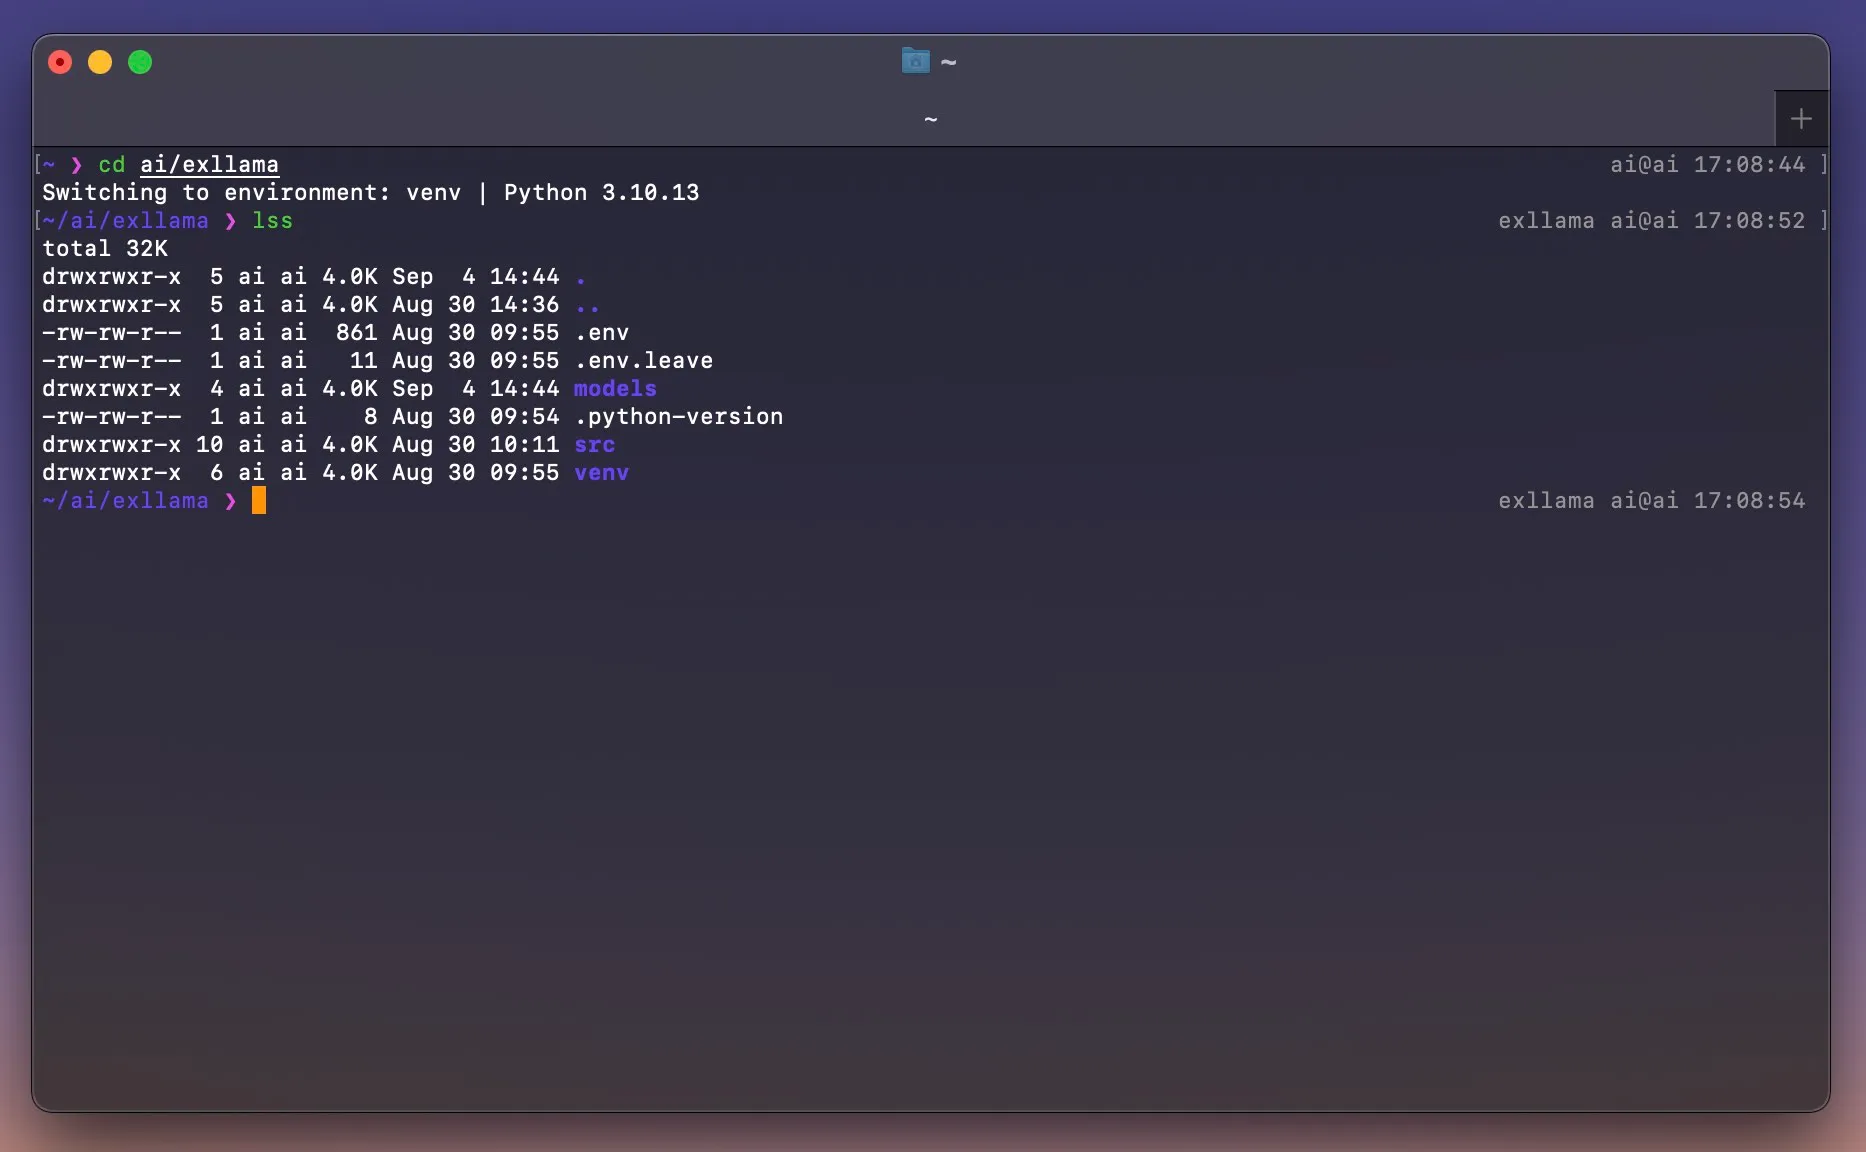
Conclusion
You are now ready to start your development with a clean and isolated environment!
If you found this guide useful you can also check the previous ones about Setting up macOS for development and AI Homelab: A guide into hardware to software considerations.